I really like easy fermentation and preservation projects that illustrate how simple things in the kitchen can be. I always aim to demystify what food marketing has worked so hard to convince us is difficult. This is one of those recipes. Actually, it’s really just a process. There is no strict recipe you have to follow. Just a couple of rules like making sure your lemons are clean and jar is sterile.
Why do you want to make these lemons when there are always fresh ones at the market? Well first off, there are some super delicious recipes that actually call for this product. Look up Moroccan Chicken with Preserved Lemon and Olives. There are several versions to try that will give you a new way to mix up your menu planning. More than one classic dish though, these give you a way to preserve the season’s bounty. It feels like even more fun to use lemons that wouldn’t have surely gone to waste from a neighbor’s overflowing tree!
I mainly use these where I would normally use fresh lemon but might not always have them on hand. I add the thinly sliced rind to salsa and salads and use a whole lemon each time I make bone broth or veggie stock. The acid helps the other ingredients give up their nutrients into the liquid. They are salty and have a stronger flavor than fresh so a little goes a long way. So let’s get on to the instructions.
You don’t need much special equipment for preserved lemons. Grab a nice big jar and give it a good wash in hot soapy water to make sure it’s squeaky clean. Find something to push the lemons down in the jar with. Pull out your paring knife, and a weight you’d use for fermenting veggies. If you don’t have one of these weights, I have lots of info on how to fashion one from things you already have in your kitchen in my Sauerkraut recipe.
The other ingredient you need for preservation is salt. Use the best salt you can afford for this since the extra minerals will add nutrition to your project. Real Salt is a great brand. You can also source Celtic Sea Salt or Himalayan Salt at any health food store. It’s just a few dollars more than table salt but wildly more nutritious.
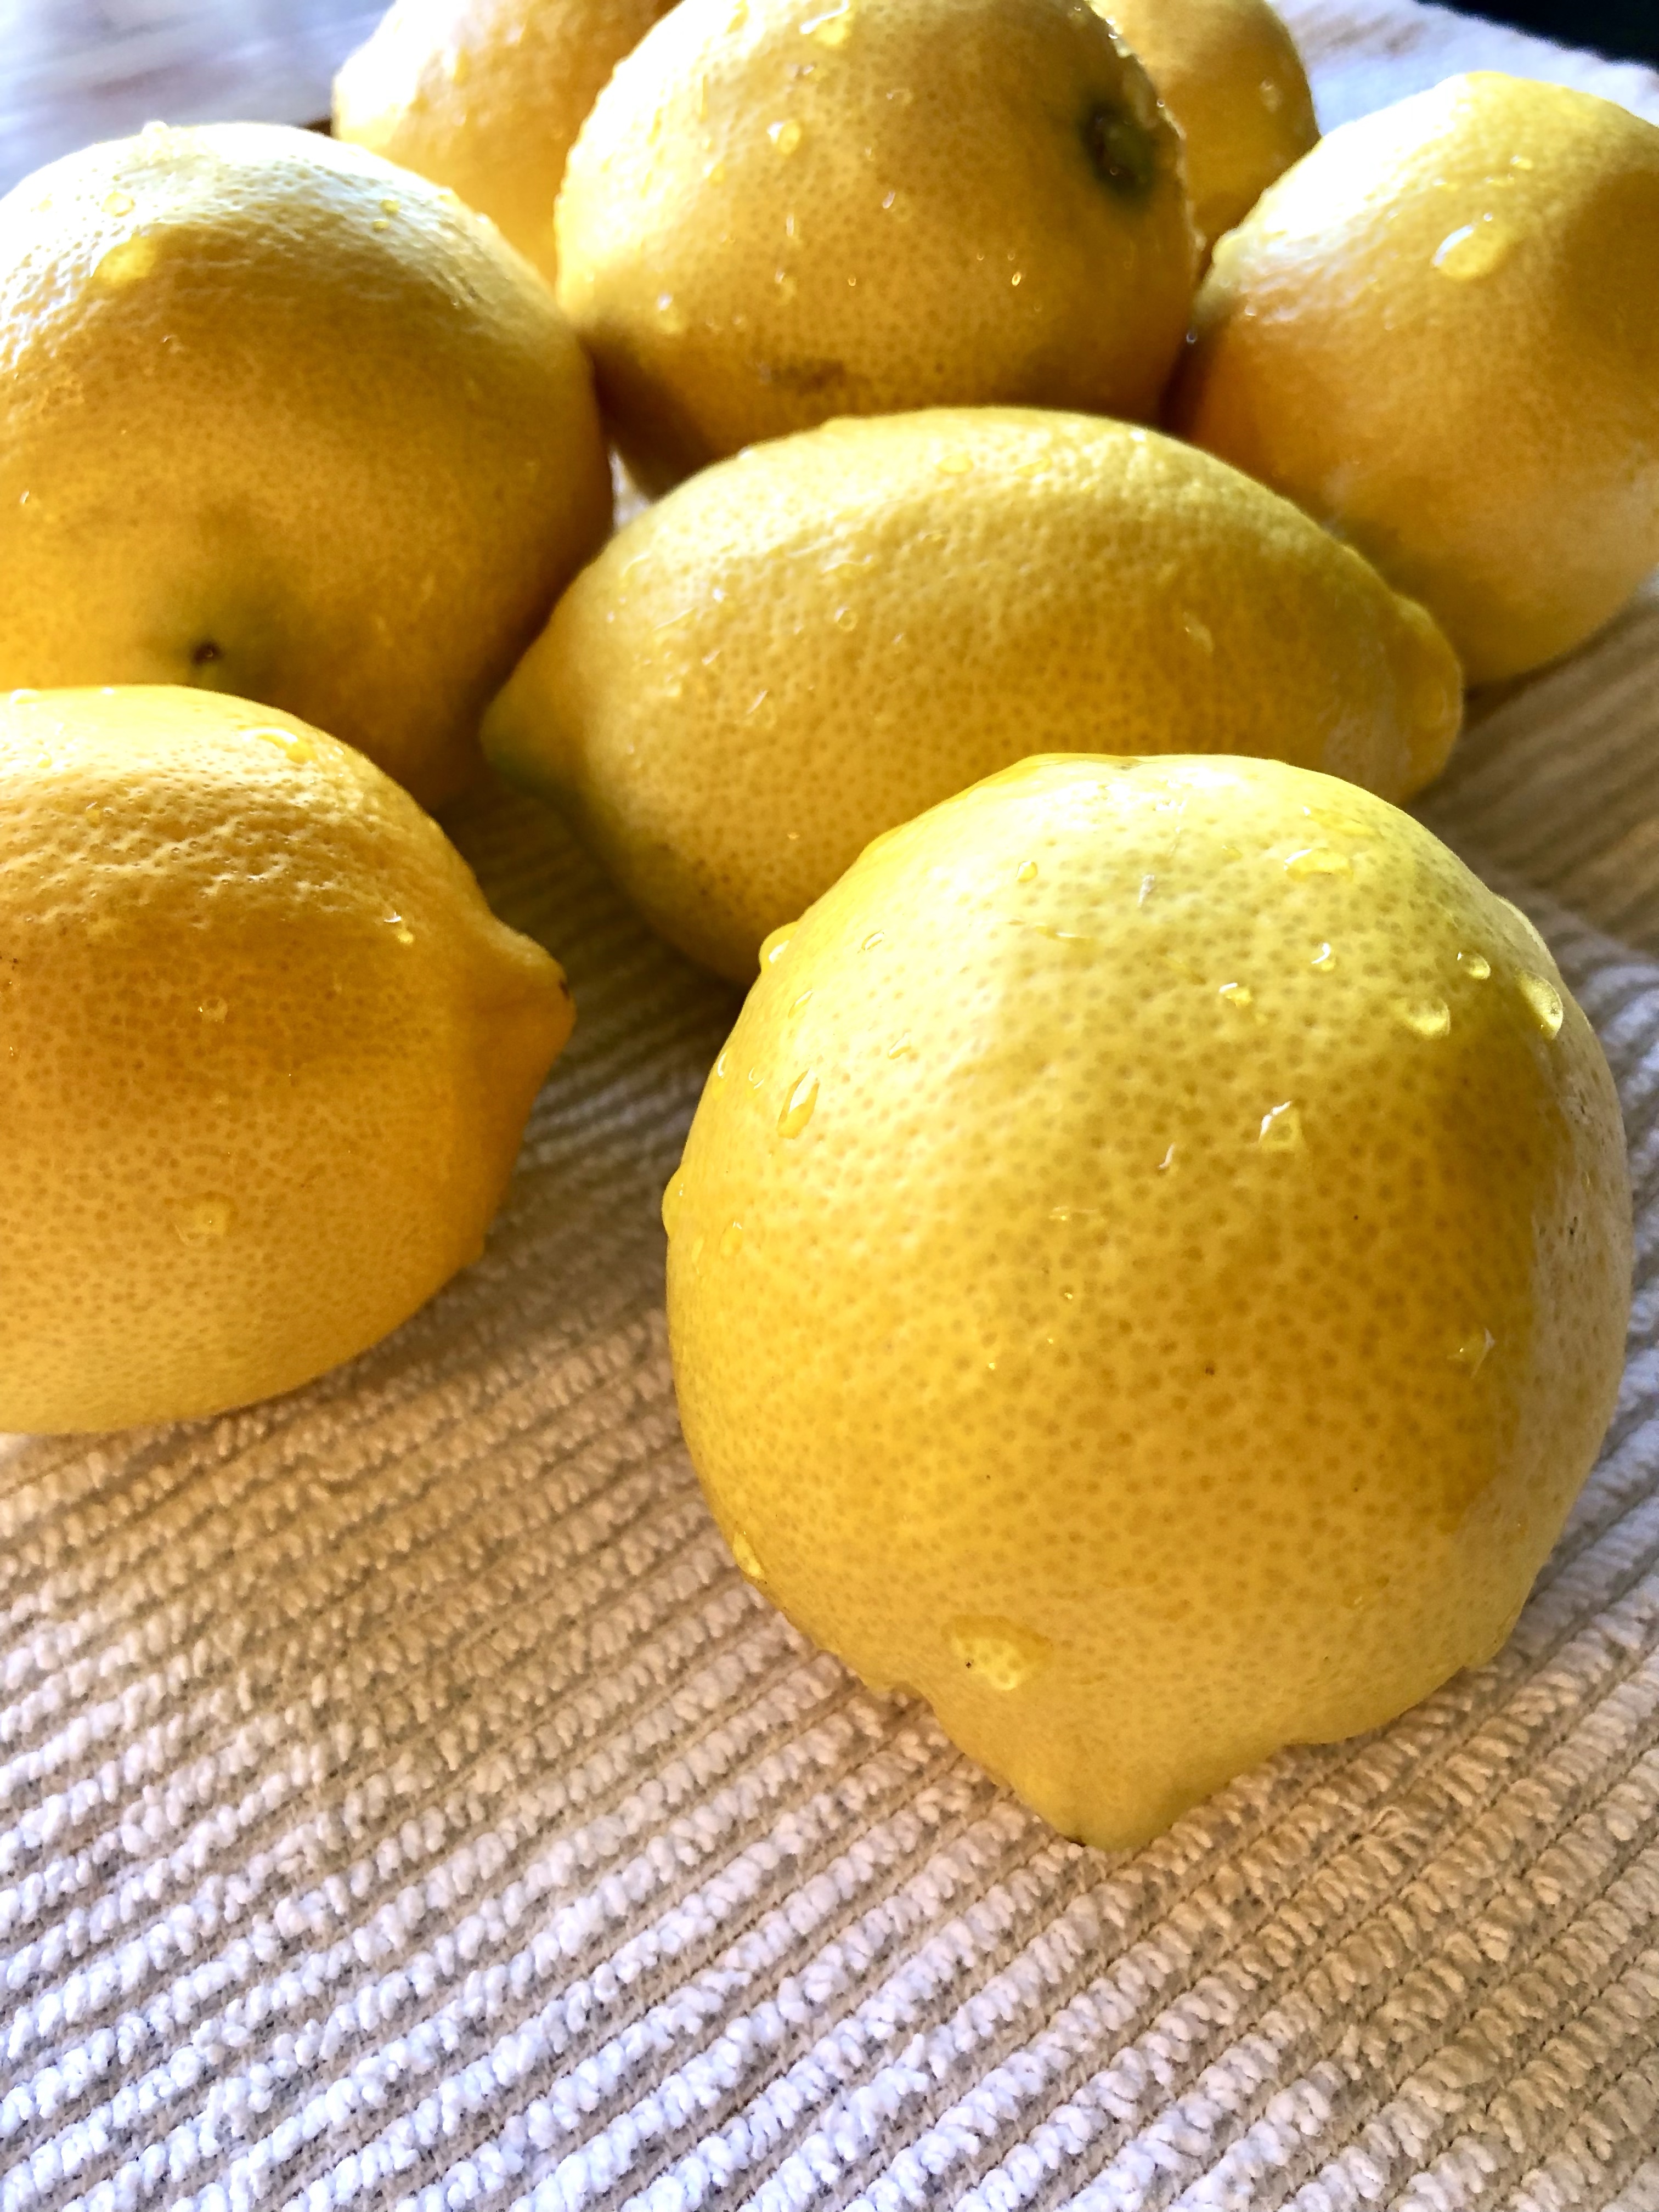
And of course, you need freshly washed lemons!!
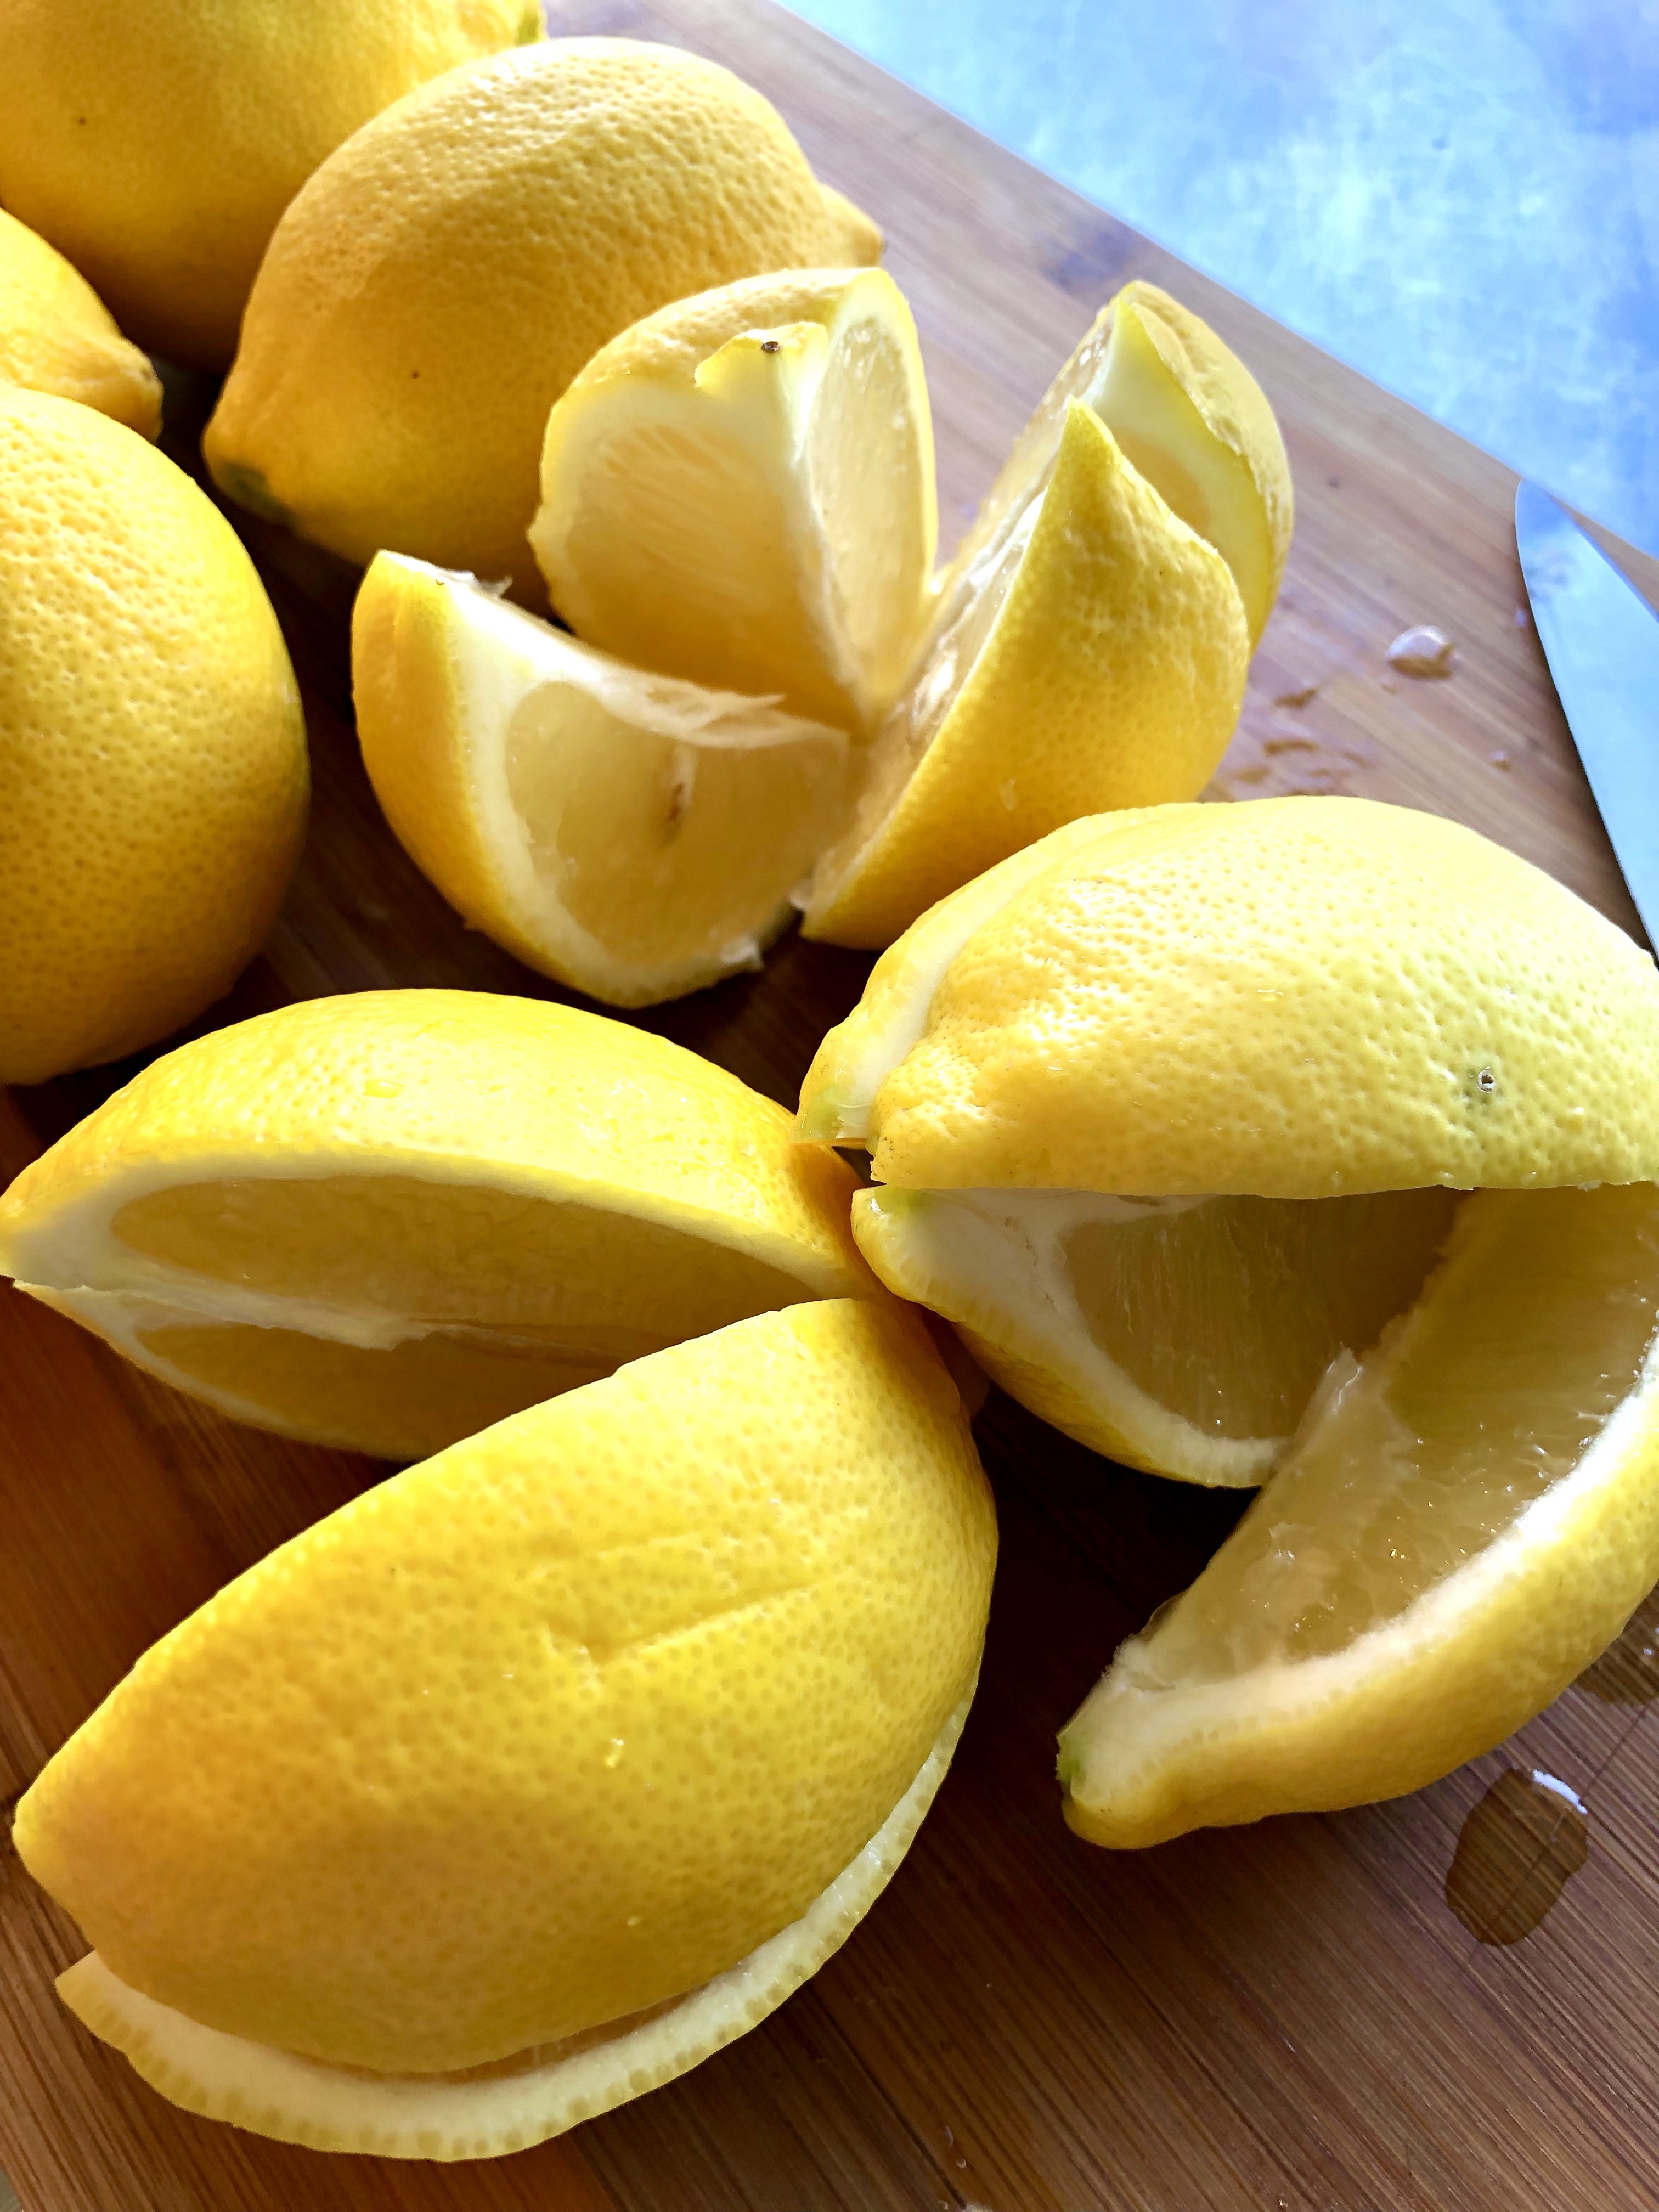
Start by slicing a few of your lemons. I slice part of them into quarters without cutting through them and part in actual quarters so there will be different sizes for different uses when they are done.
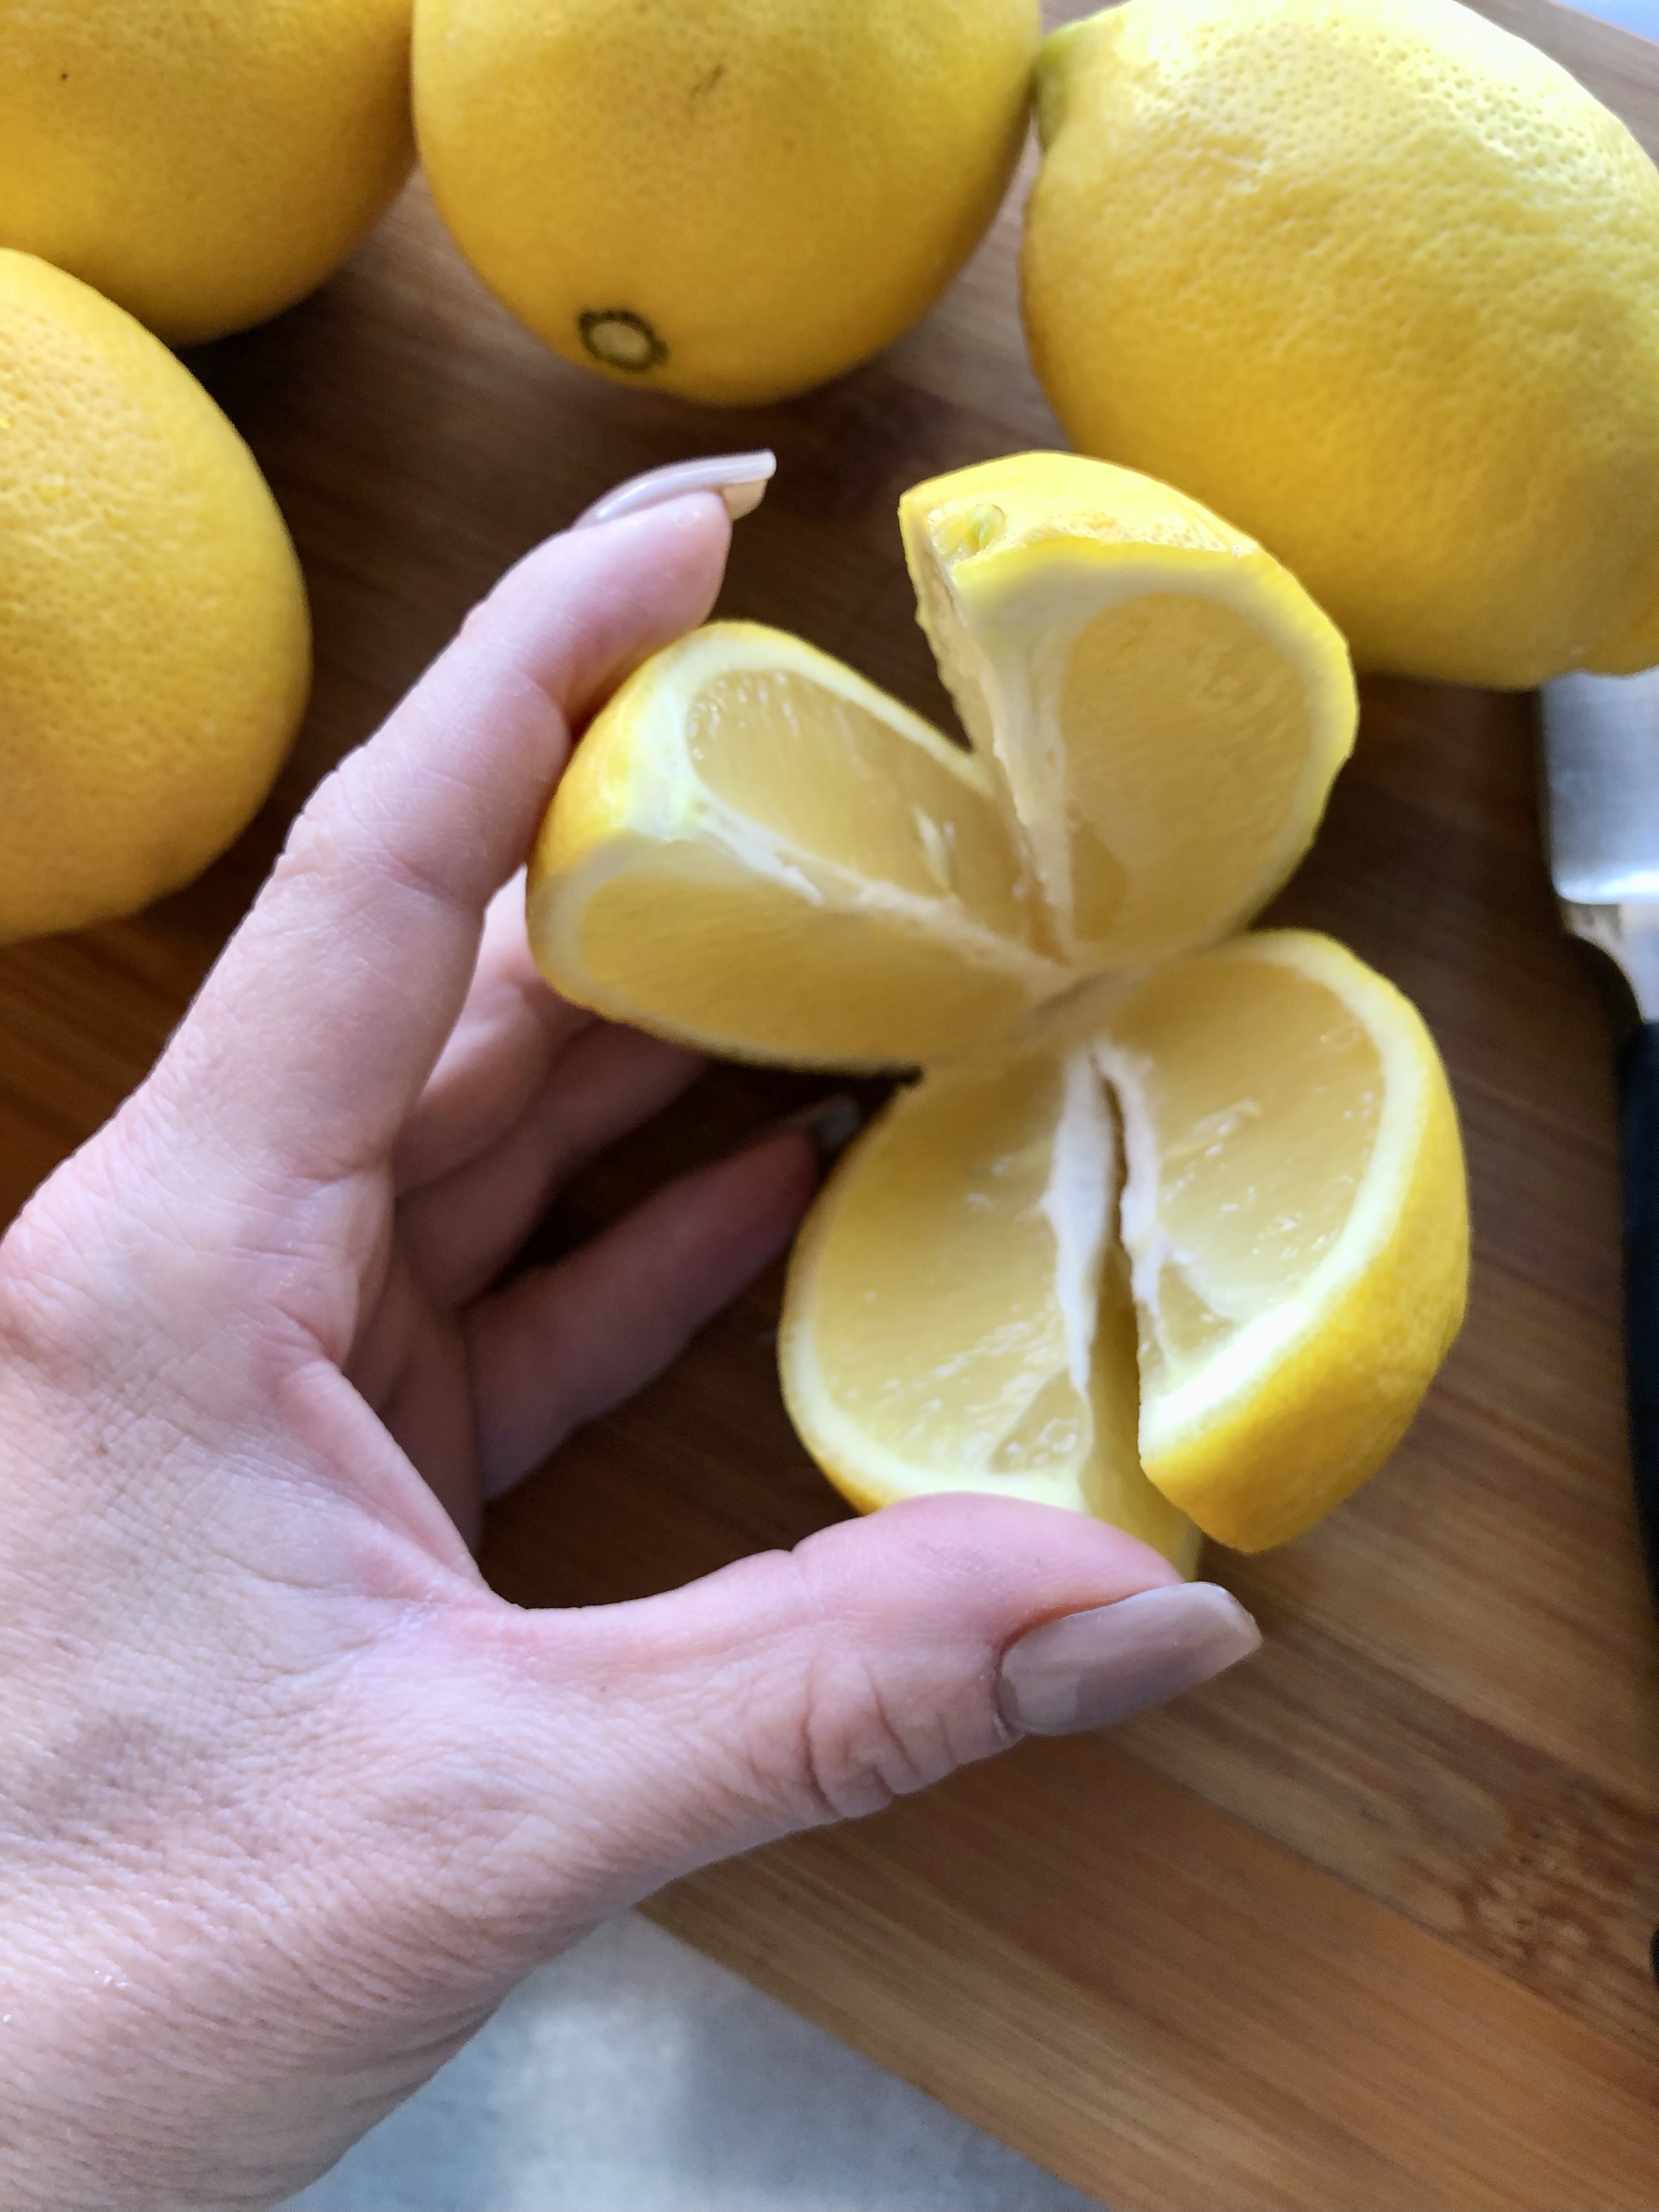
I don’t cut up all my lemons at once because it’s hard to tell how many you’ll need to fill the jar. Just know it will be more than you think!
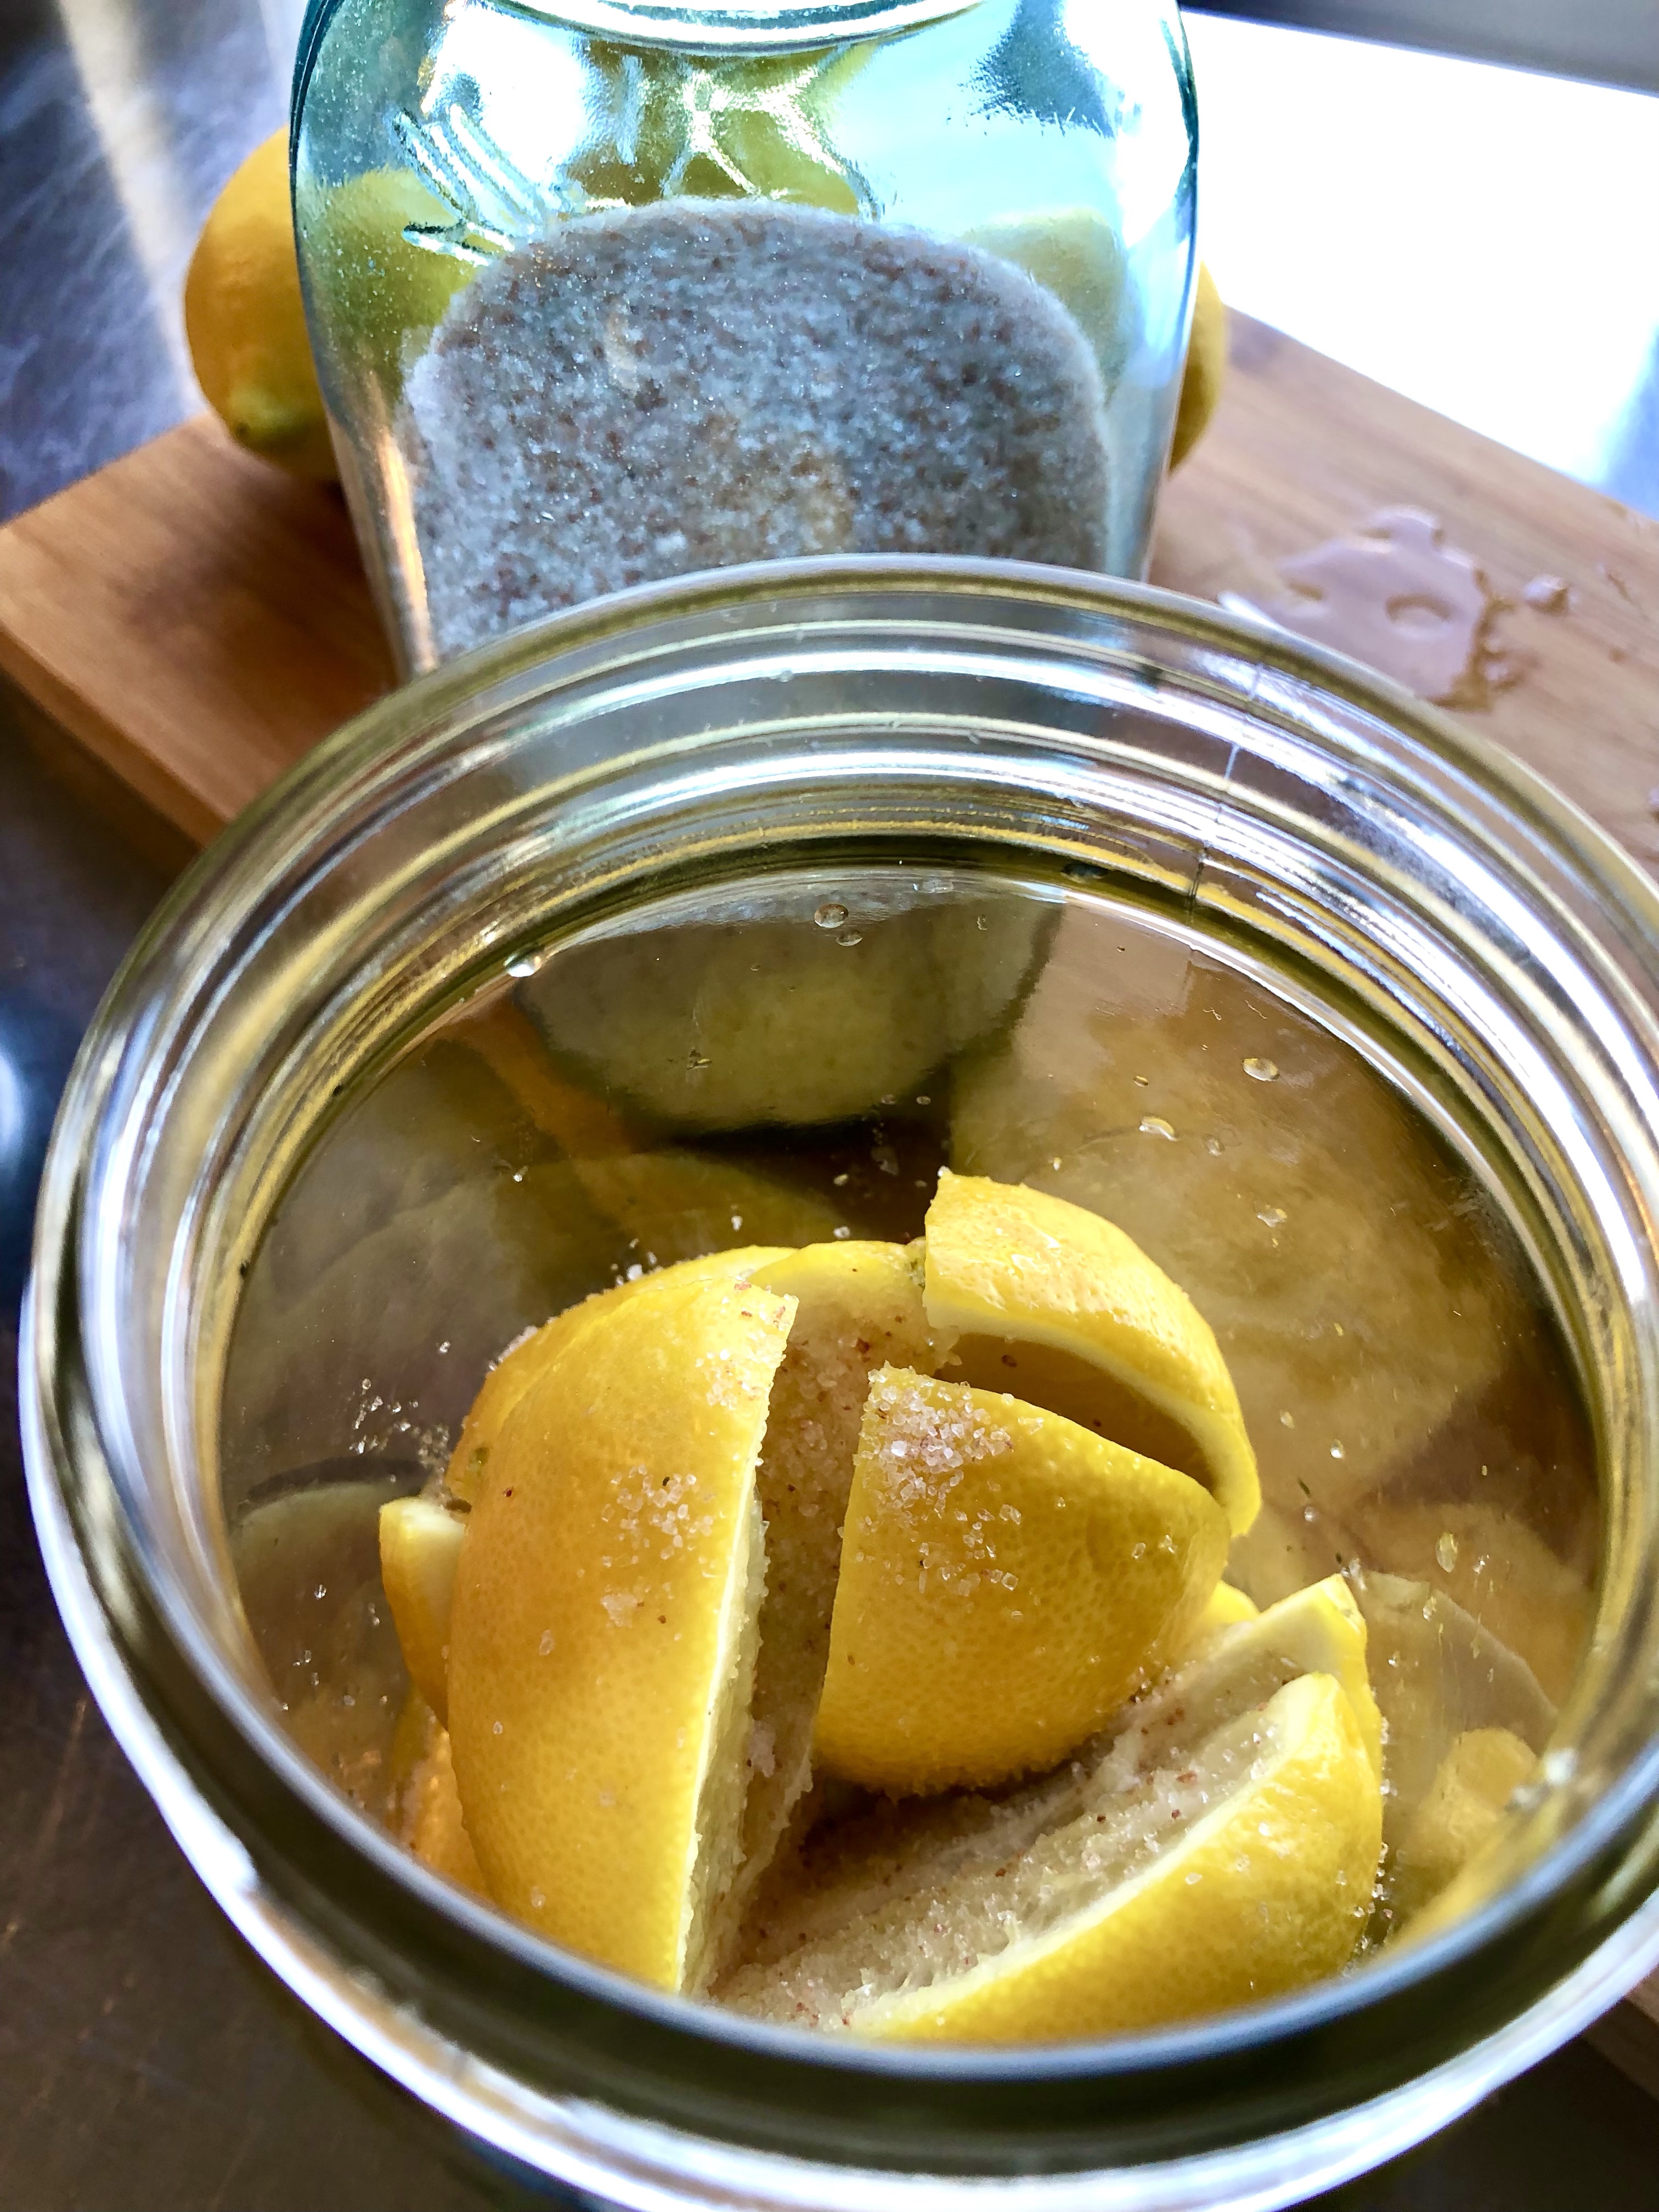
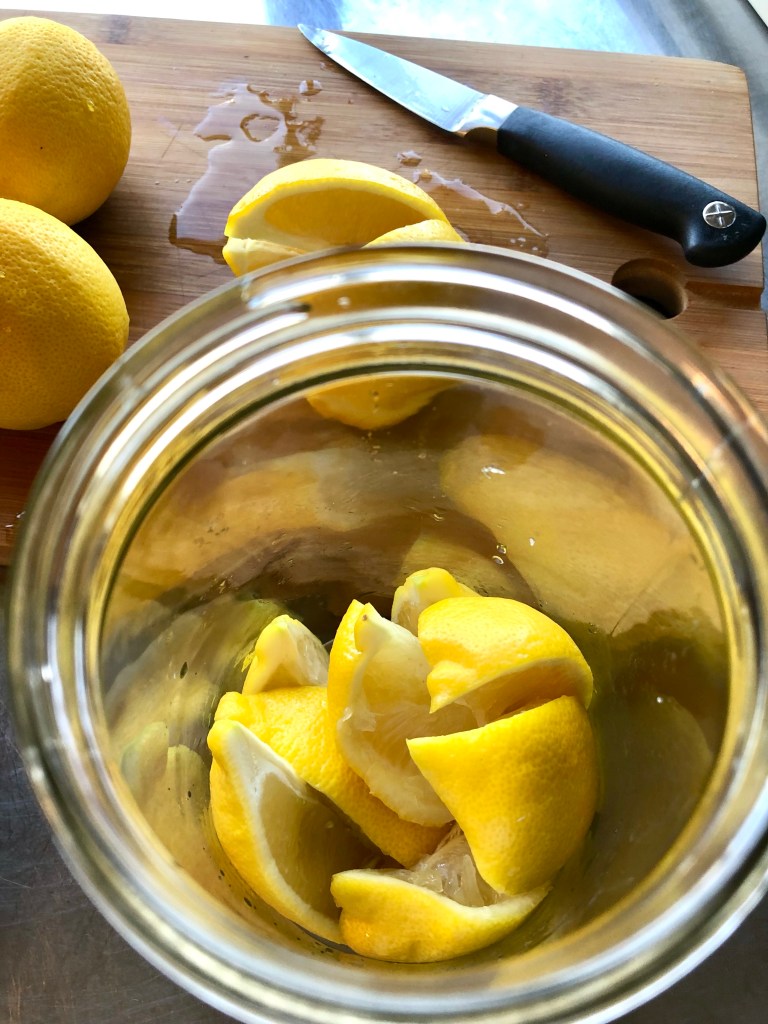
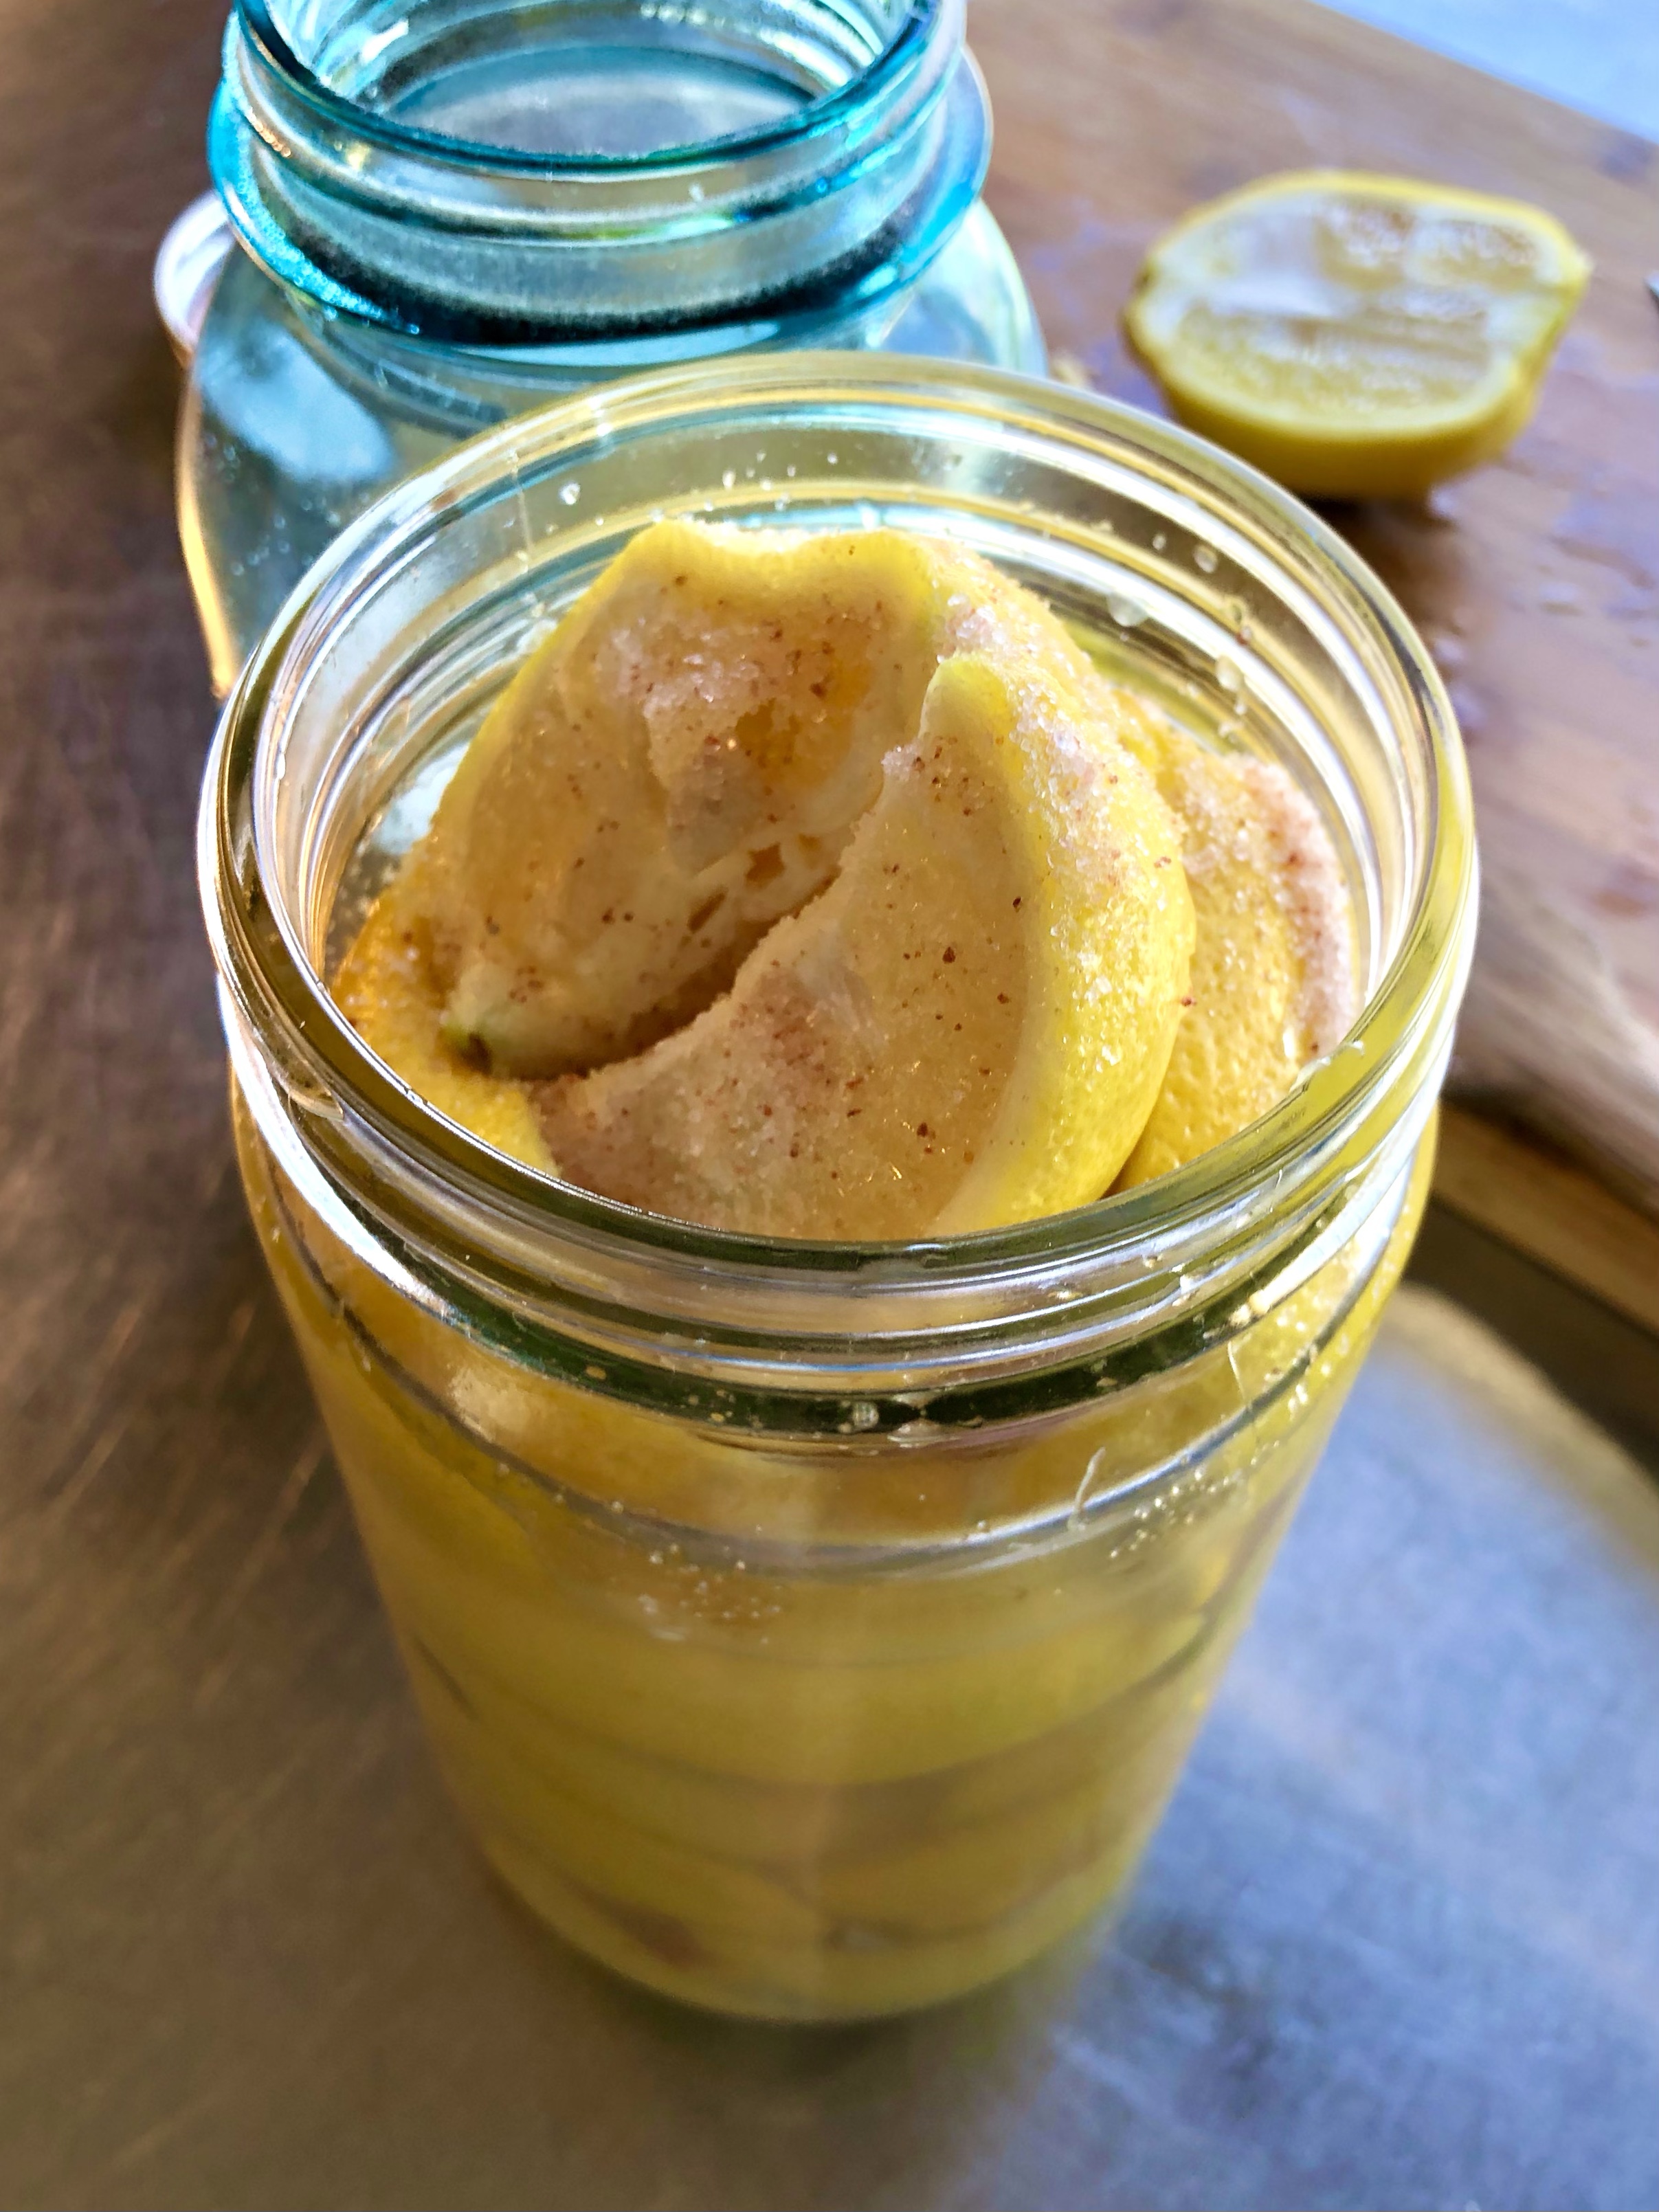
Next, start adding the lemons to the sterilized jar. Add one layer and sprinkle in some salt. Add more salt than you would if you were salting prepared food but not so much that it completely covers the lemons.
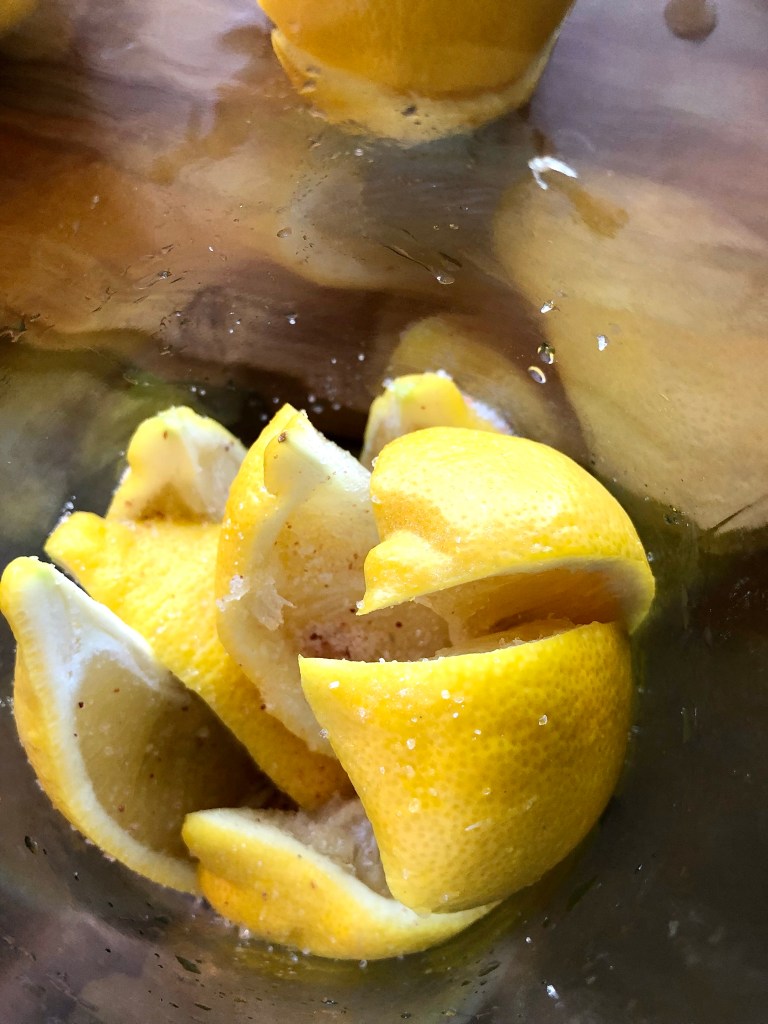
After you finish each layer of lemons and have added salt, press the lemons down so that they take up less space in the jar and start to express their juice.
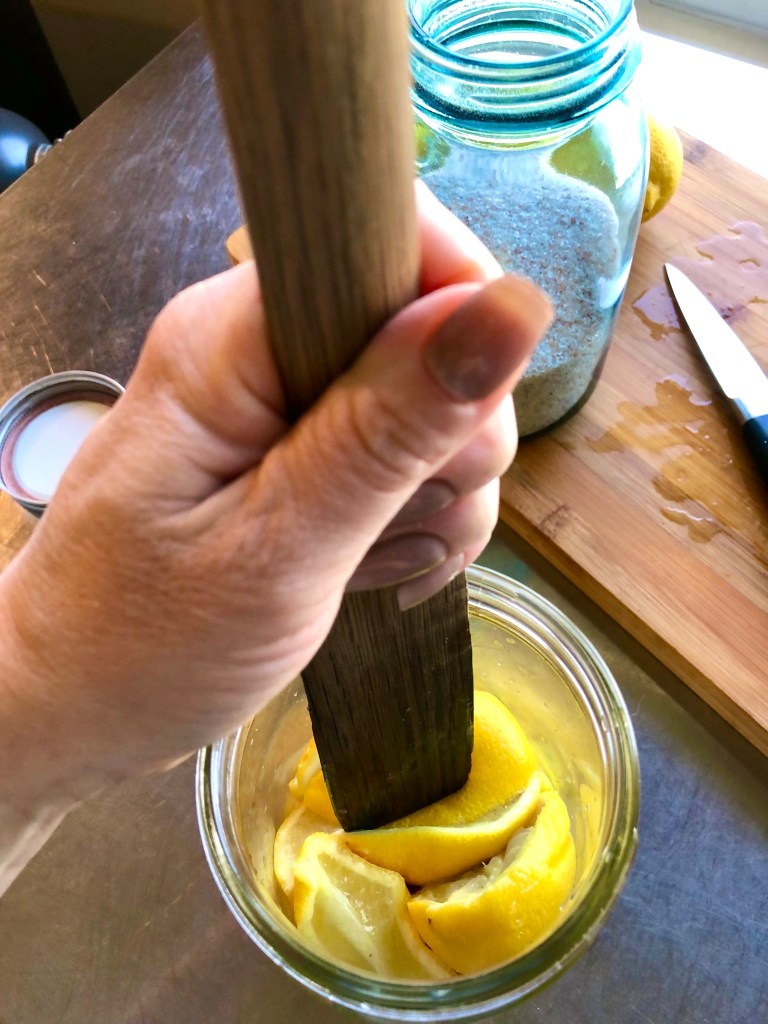
Continue adding, salting, and pressing until your jar is nearly overfull.
Now it’s time to add your weight.
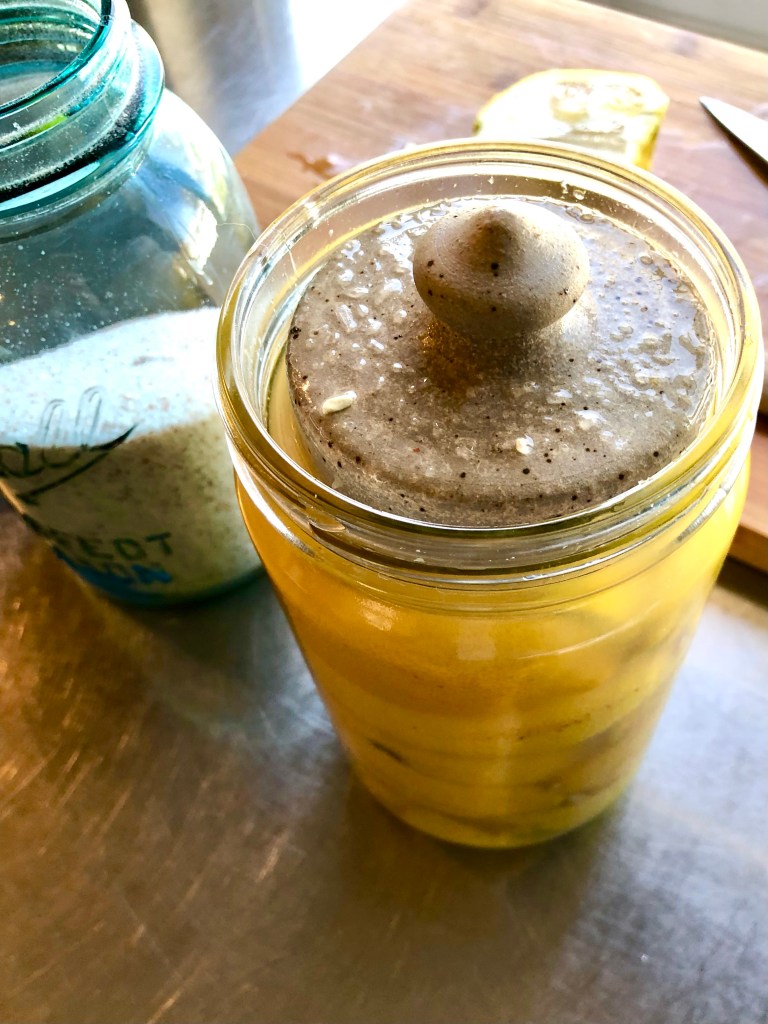

Once your jar is weighted, you’ll leave it in a cool place for 4-6 weeks. During the first week or so, you’ll want to vent and shake the jar. Especially if you aren’t using a canning jar with a vent. You can see in my photo that this is a repurposed jar so I’ll be careful to vent it every morning until I notice that it’s not releasing any gas. Exploding jars make these projects the opposite of fun!
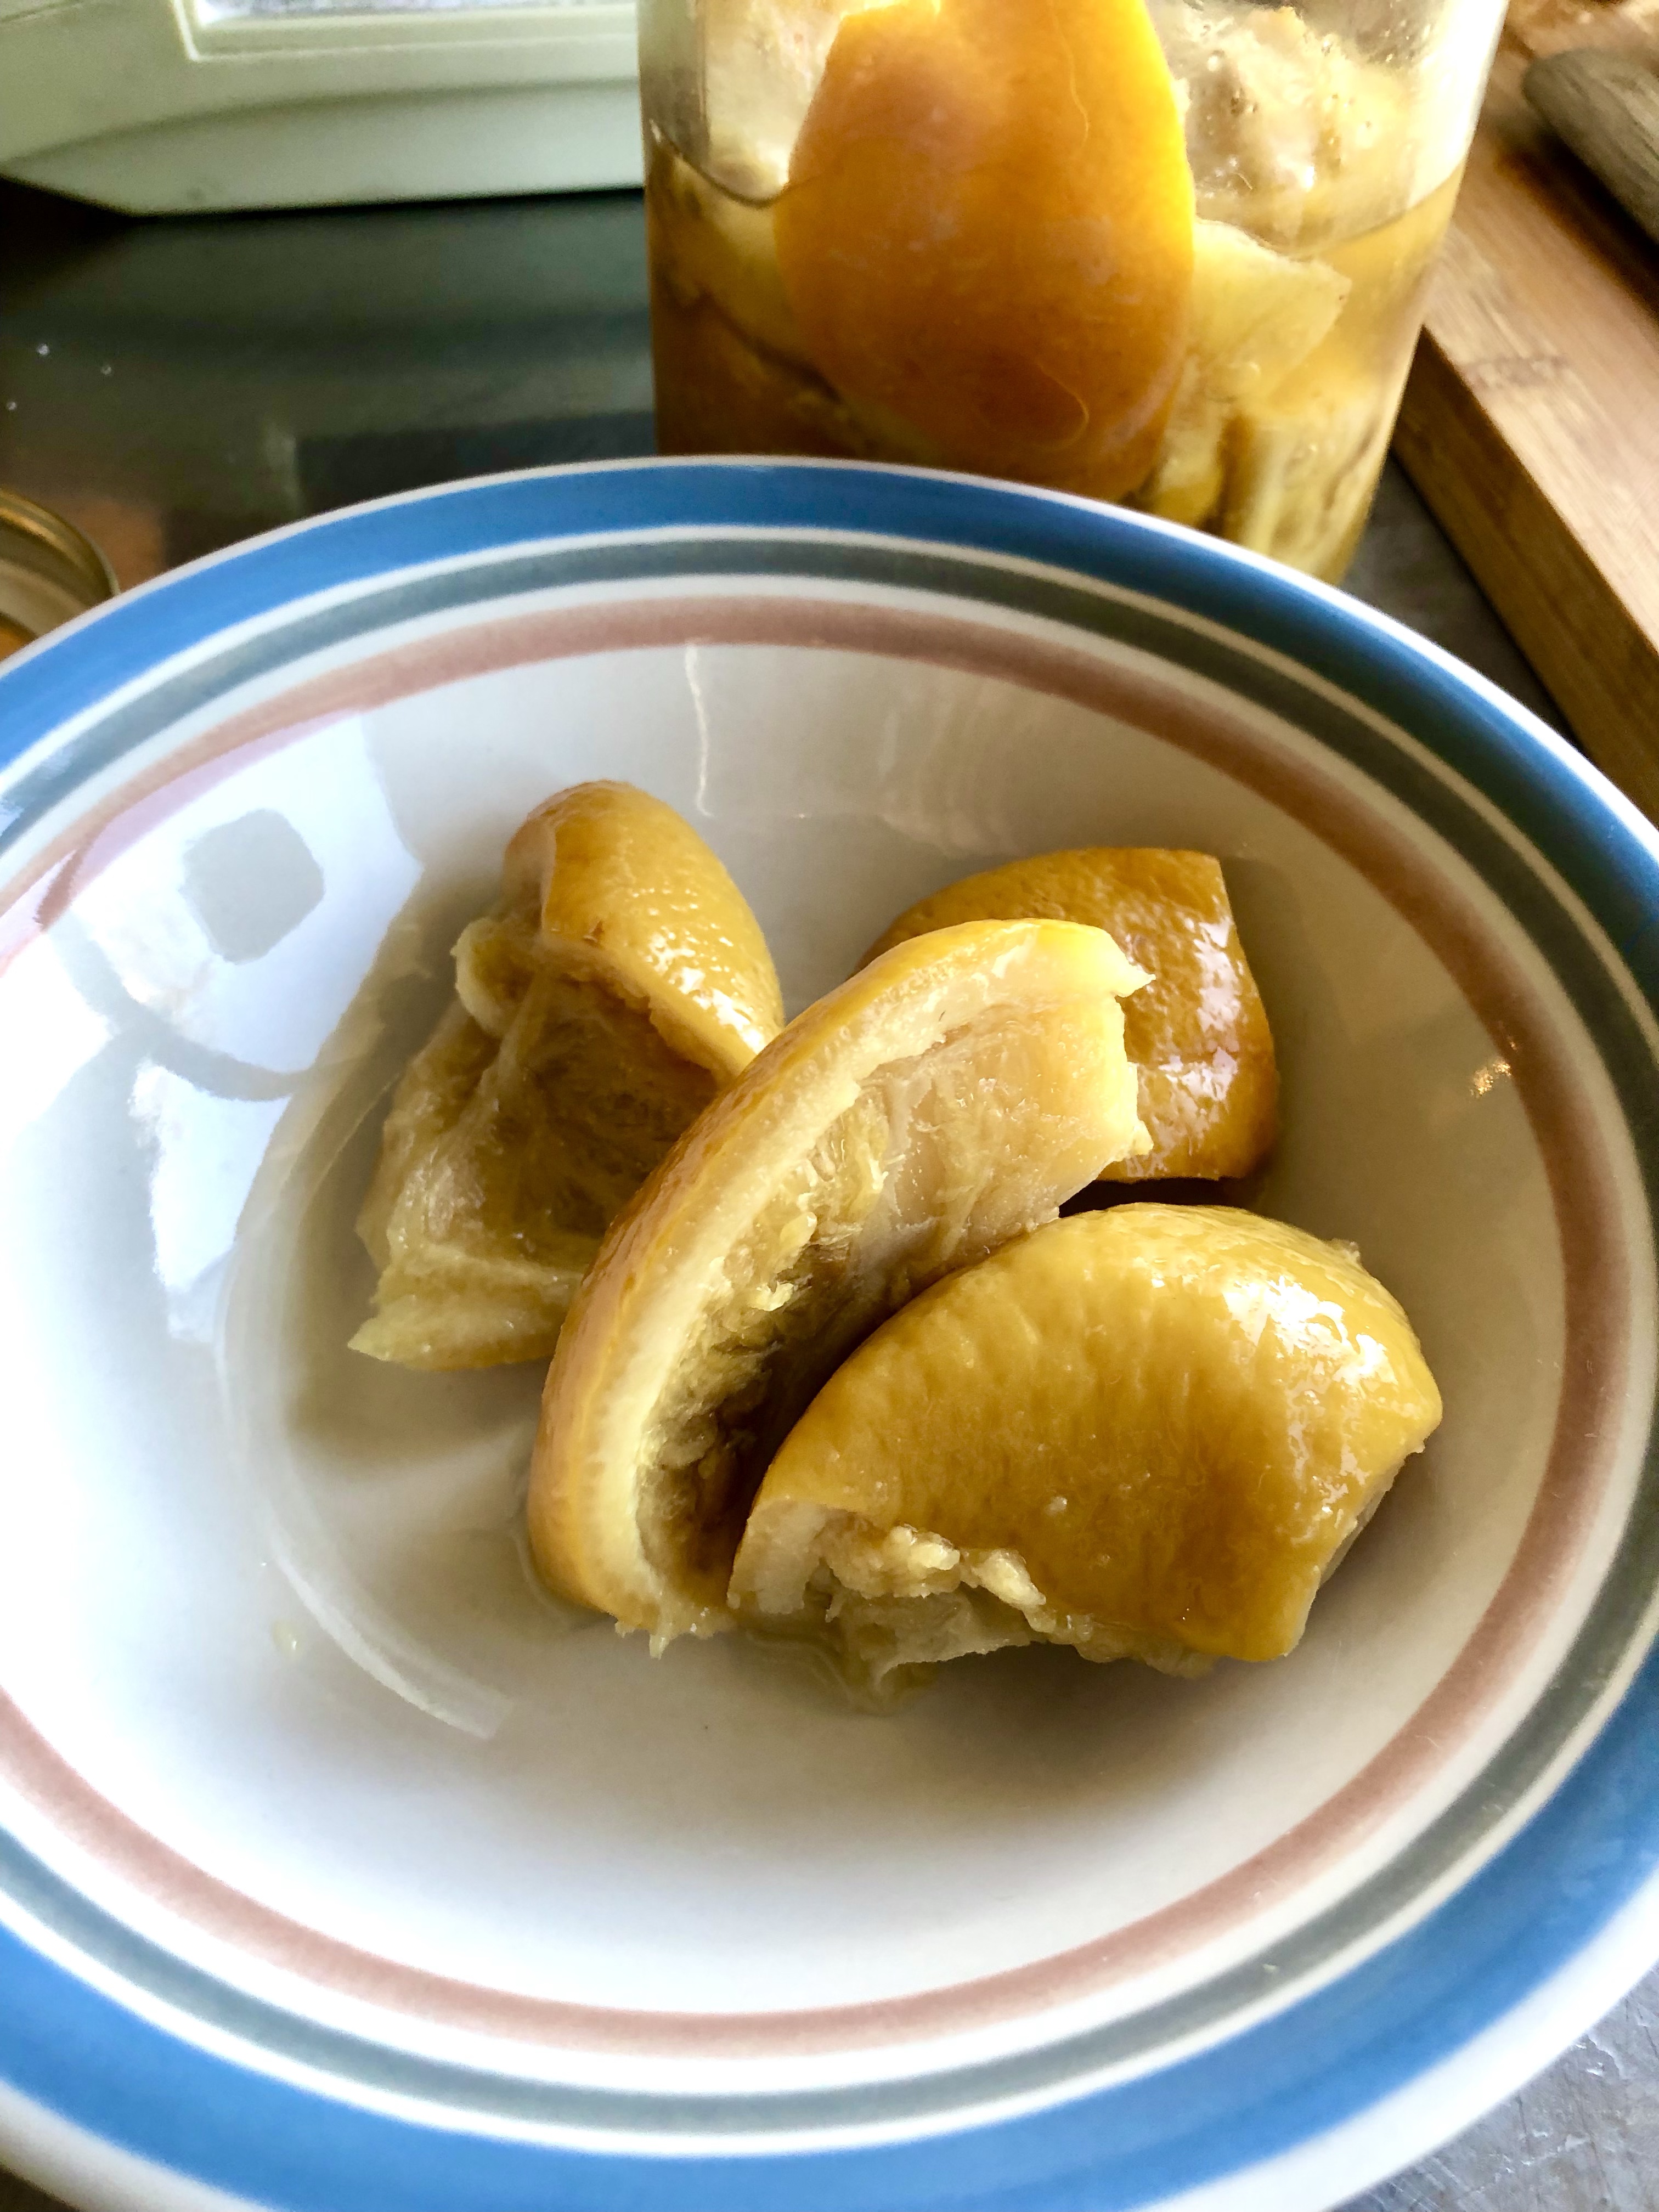
Once your project is finished, remove the weight and it will keep nearly indefinitely in the fridge. Just be sure the lemons are always covered in the salty juice. If they start to get a little dry on top, feel free to add a little more salt and water or fresh lemon juice.
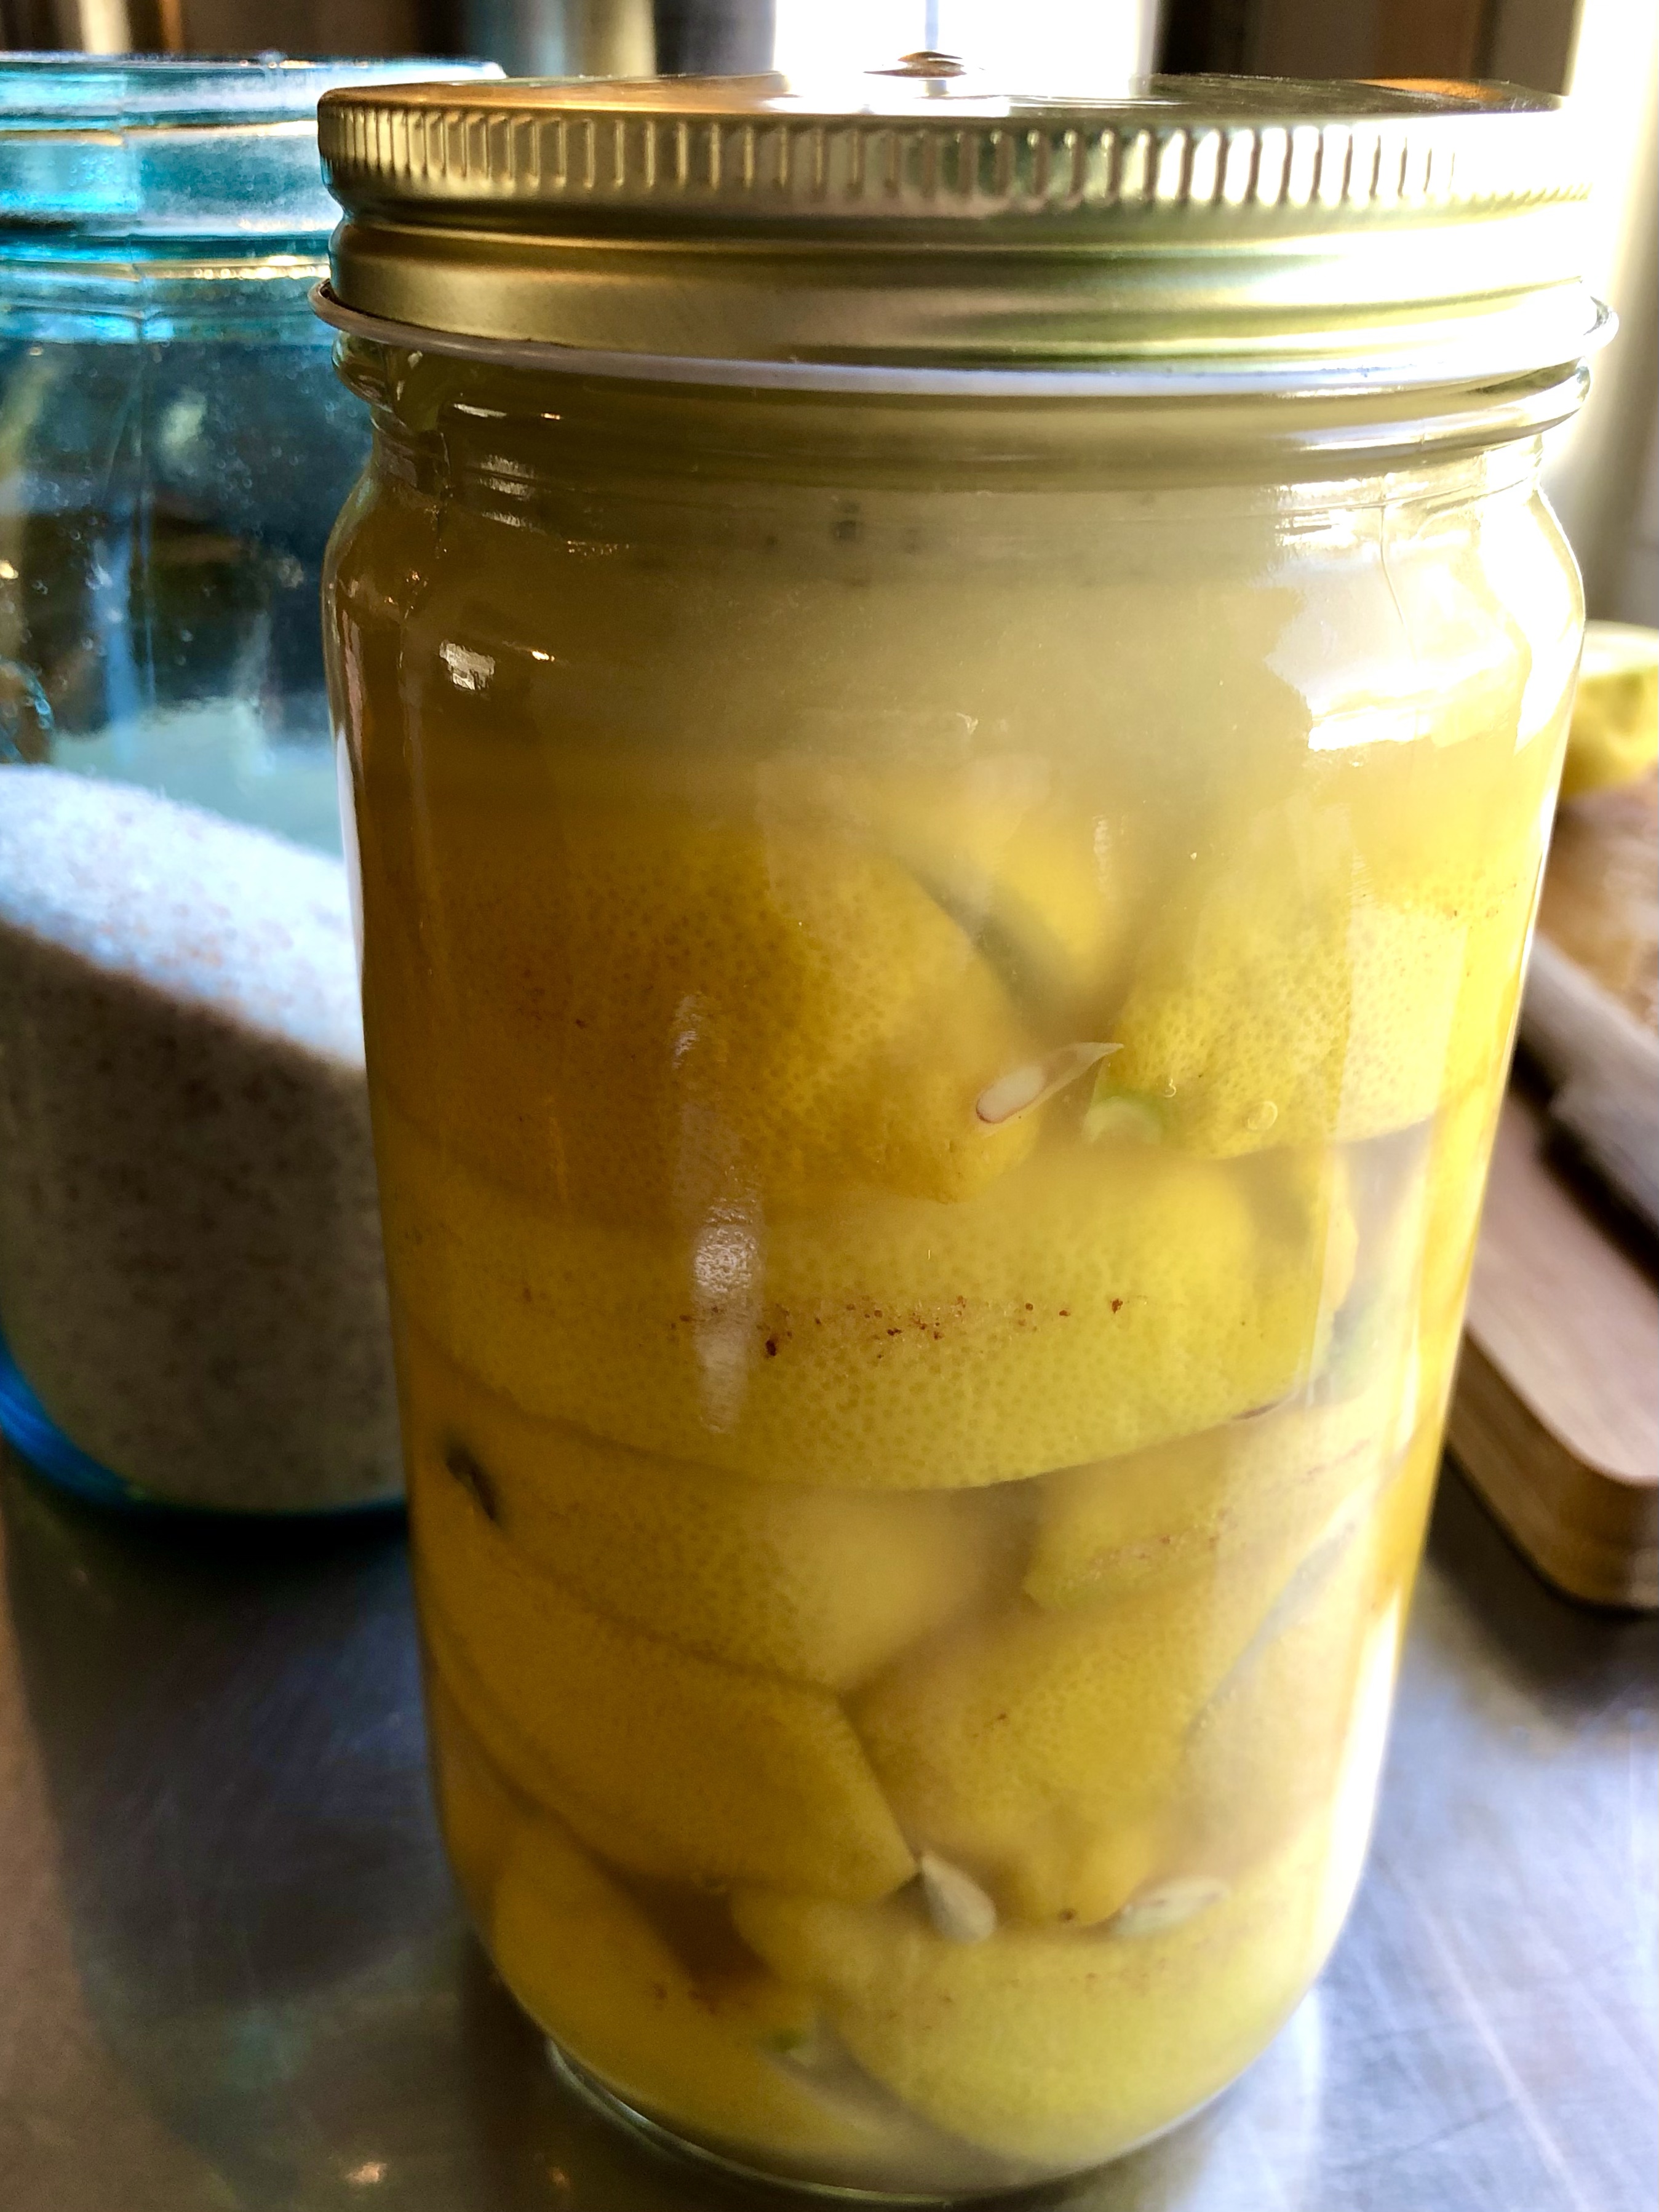
These are last year’s lemons. They are almost gone so I’ll be ready for the next batch when they are ready this spring!