The number one question I get about sourdough is not about making bread! It’s about how to keep starter alive and active when you don’t want to bake every day. There are some real challenges with the standard methods. Many suggest you use huge amounts of flour and water to feed a large amount which results in tons of discard. They also often recommend that you leave your starter on the counter full-time which means you have to attend to it every day. This daily feeding makes tons of waste when you aren’t baking, but possibly more distressing… If you forget about it for a few days, you find your little bacteria friend dried out or runny and dead looking.
So, I have a process that solves all of these problems. It was born from making leaven for my bakery that I have adapted for infrequent bakers.
And speaking of leaven, let me clarify what that is before I start the instructions. Active starter and leaven are basically the same things. Leaven is just starter mixed with flour and water in specific measurements and allowed to ferment overnight so that it is ready to make bread. I’m going to use the word leaven and starter sort of interchangeably throughout this writing but know that when I say starter, I am referring to what you keep long-term in a mason jar, and when I say leaven, I mean what you are measuring and growing for bread.
Now, let’s imagine that you took the time to grow a starter or maybe you bought some from me, and now you really, realllllly don’t want to kill it. You also don’t want to make bread every darn day. The key is training it to keep happily in the fridge.
Interestingly, the bacteria in your starter will adapt to thriving in the cold once you start using this method. This means that it will ultimately remain stronger in the refrigerator for longer and you won’t have to work as hard to get it active when you want to make leaven.
If your starter has been in the fridge for a week or more (or has been hanging out on the counter) and looks very thin with few bubbles, start these simple instructions to revive it about 4 days before you want to make bread. Stay tuned till the end to learn how you can eliminate the need for this lead time.
Reviving Starter
Before bed on day 1, take just 12 grams of starter from your jar and put it in a non-reactive bowl. Add 50 grams of water and mix with a spatula until it is mostly dissolved. Add 50 grams of flour and mix well. Cover and leave the mixture to ferment overnight. Consider all the other starter in your jar discard and use it for crackers or pancakes or just throw it away.
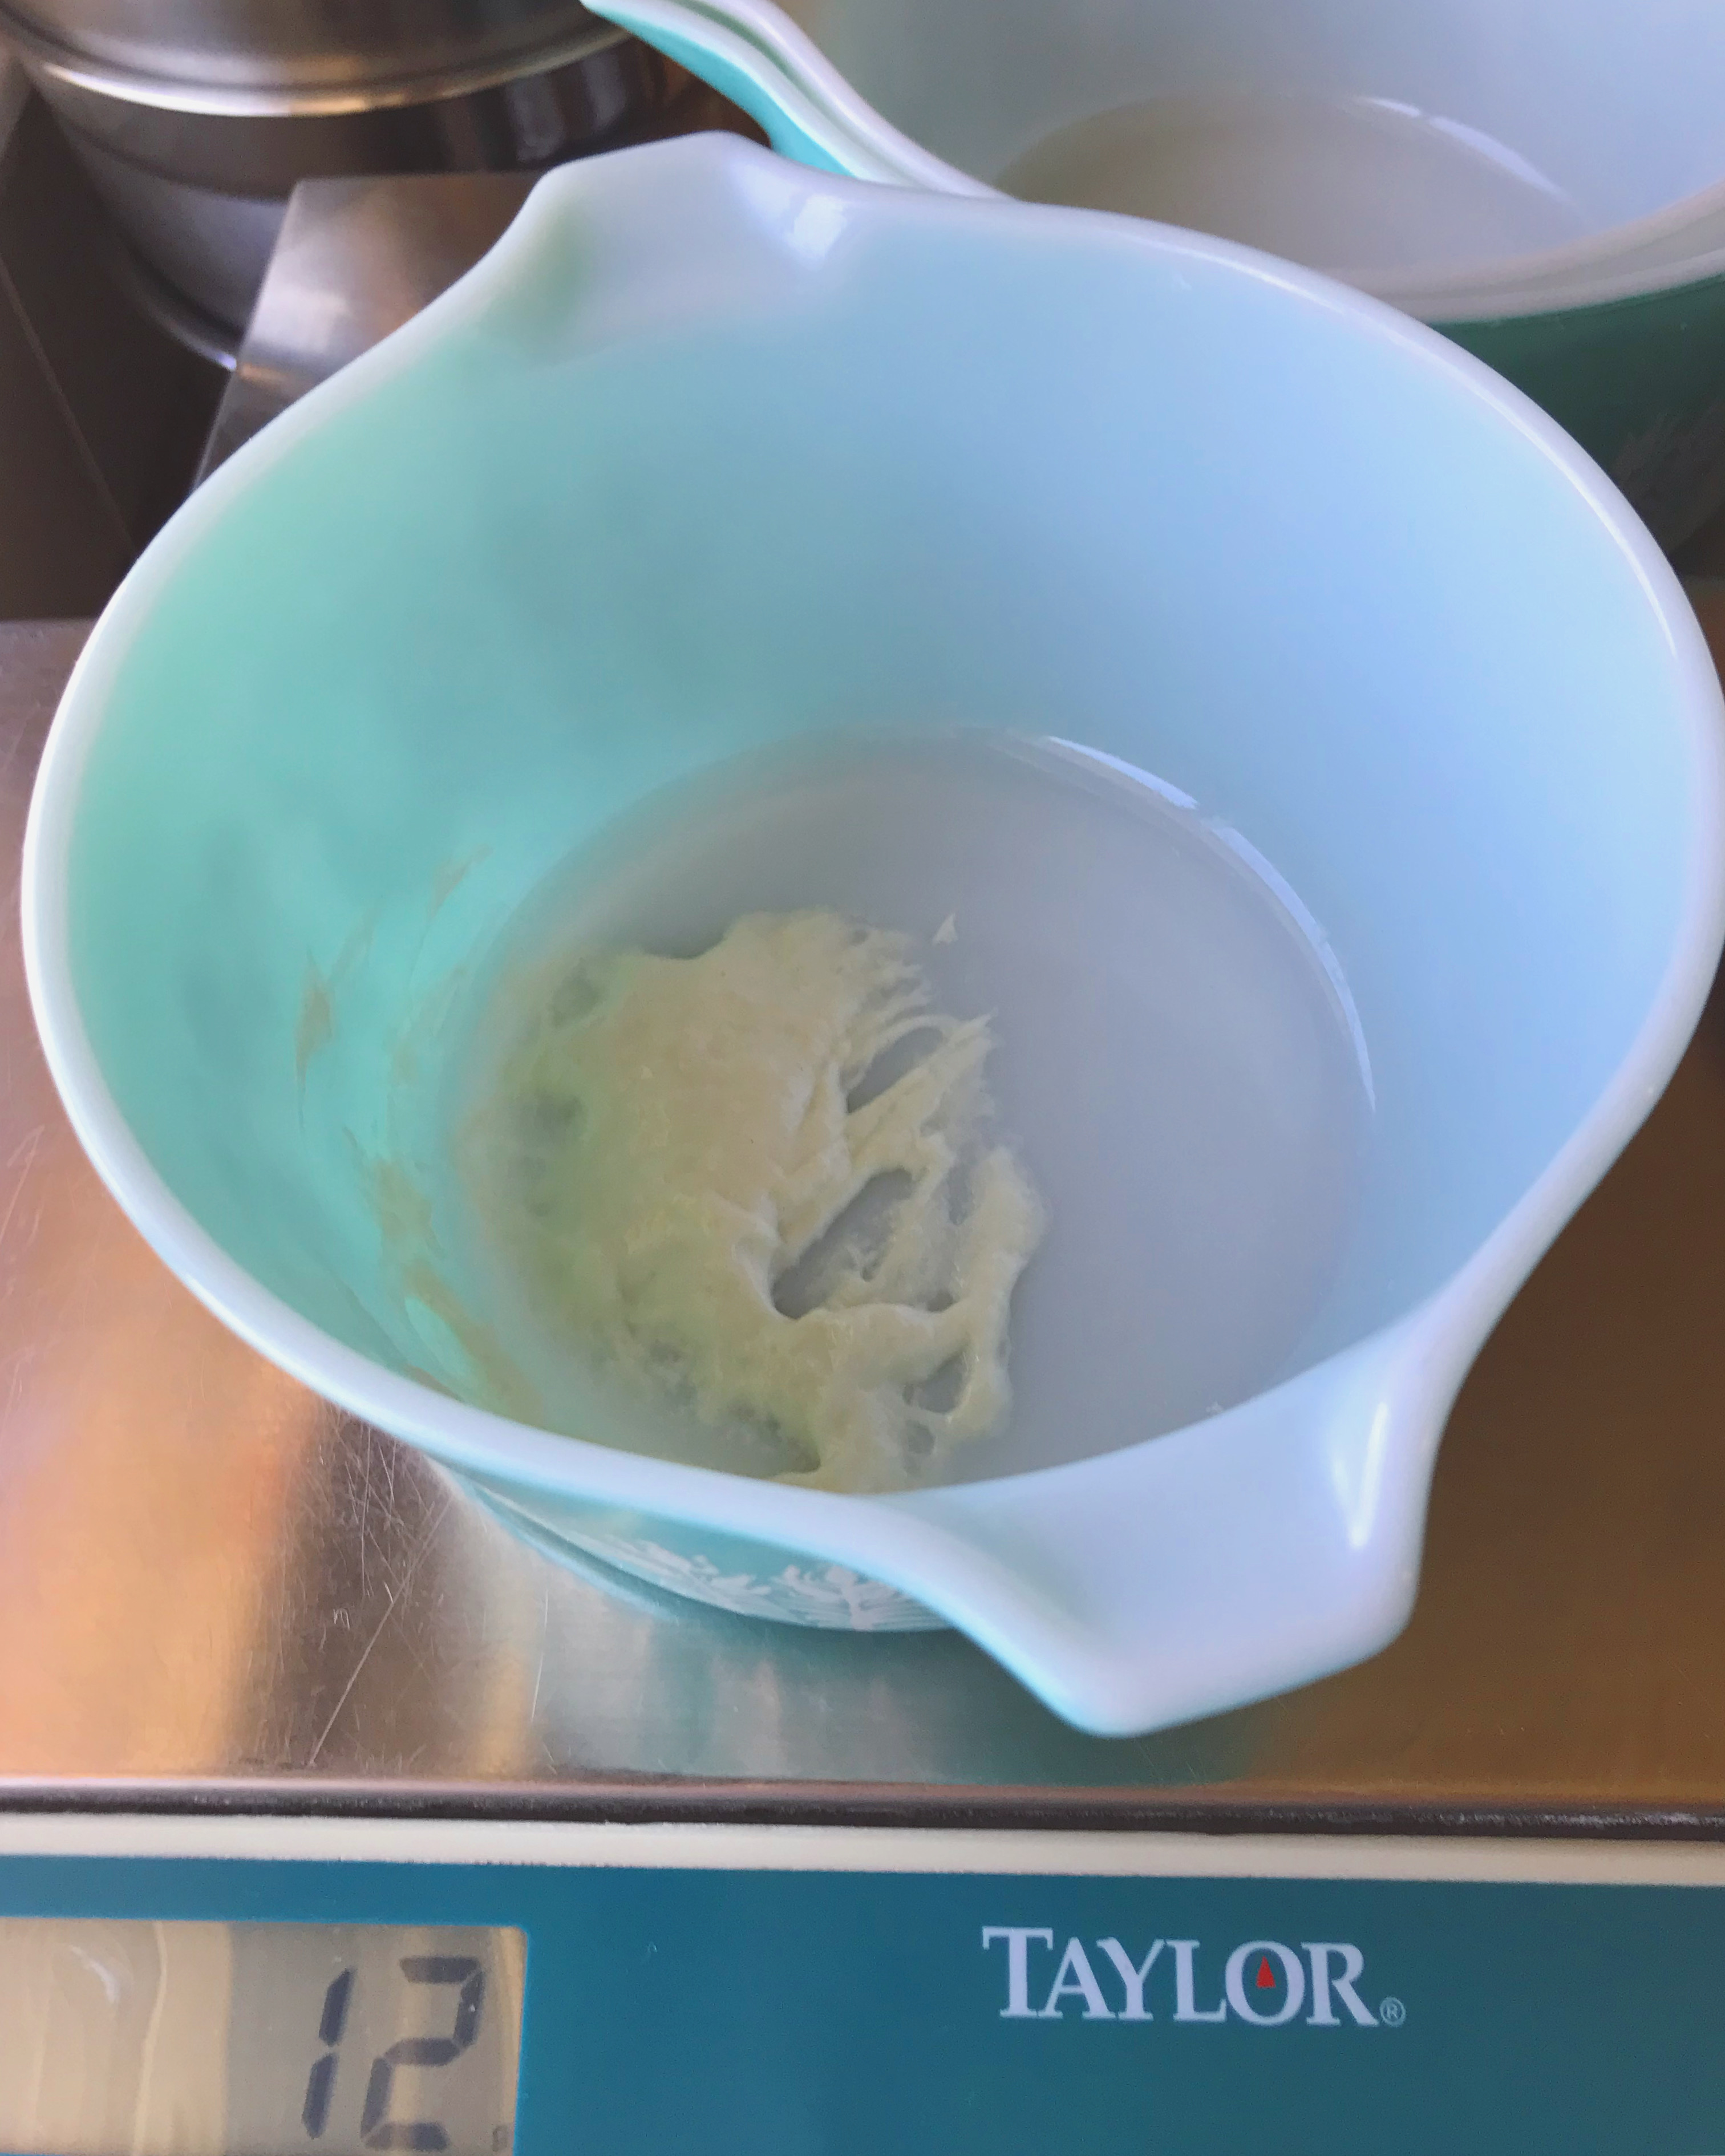
12 grams is a tiny amount of starter!
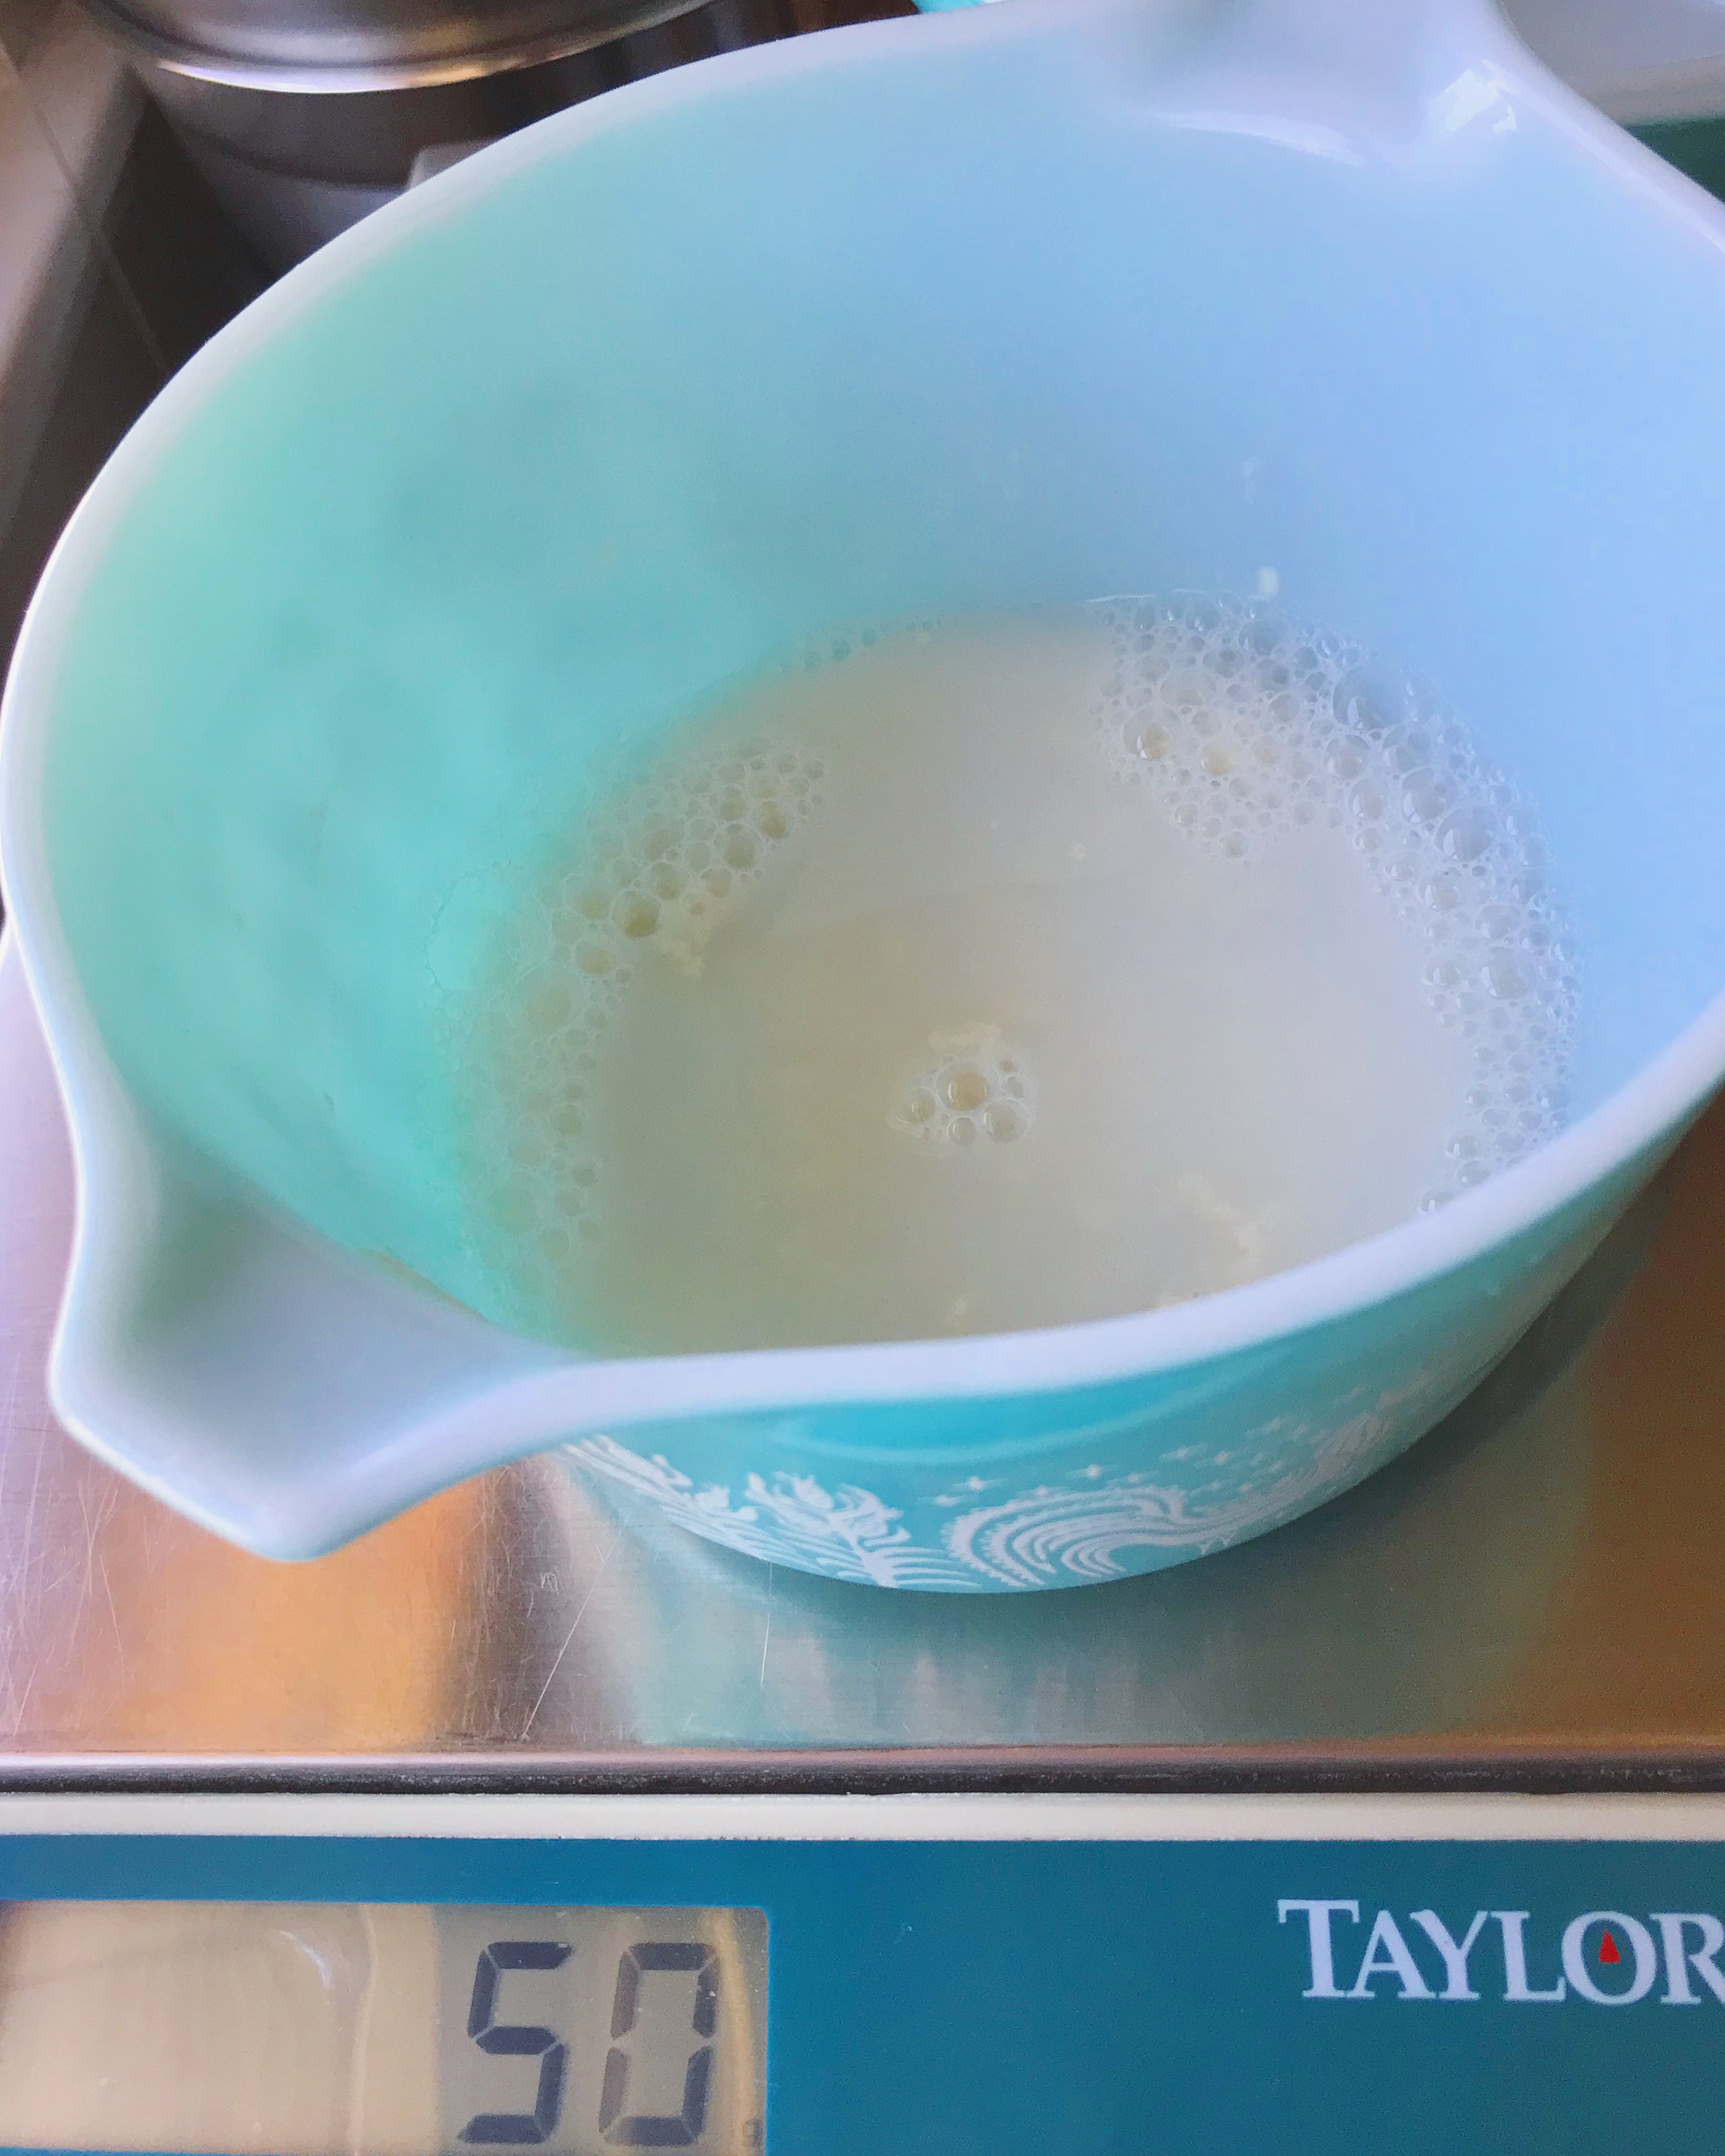
Mix in your water
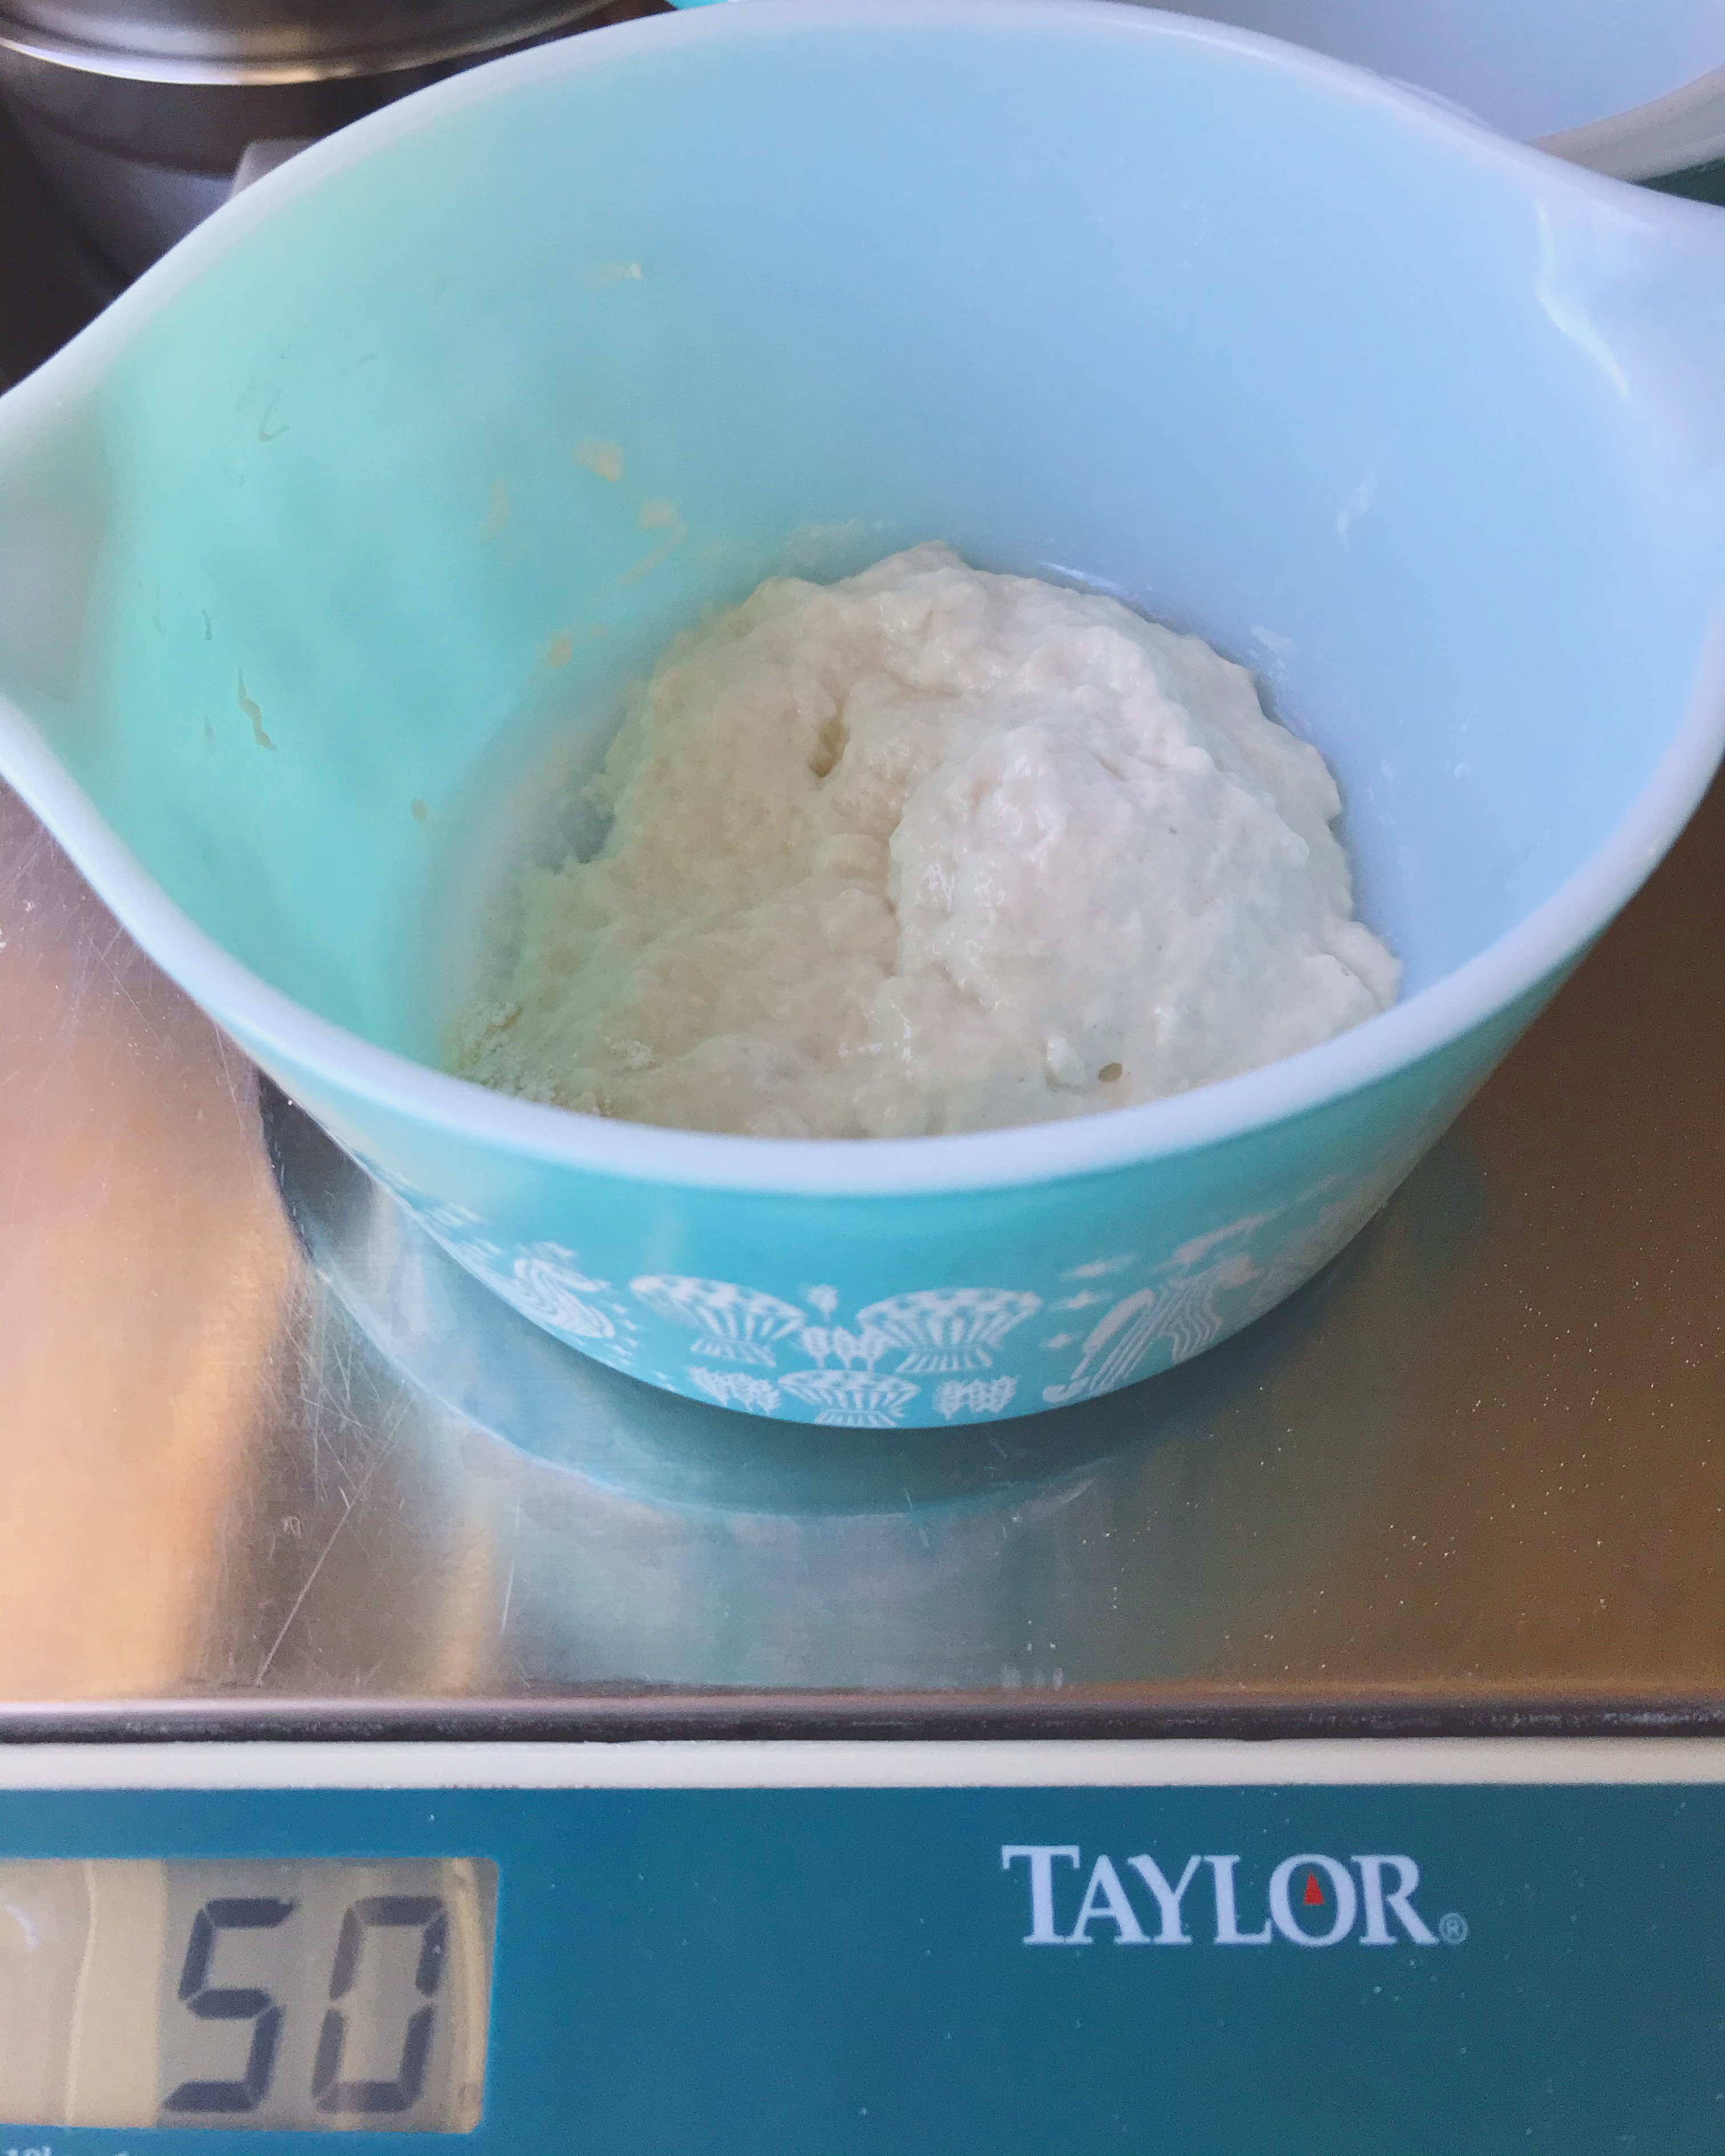
Mix in the flour
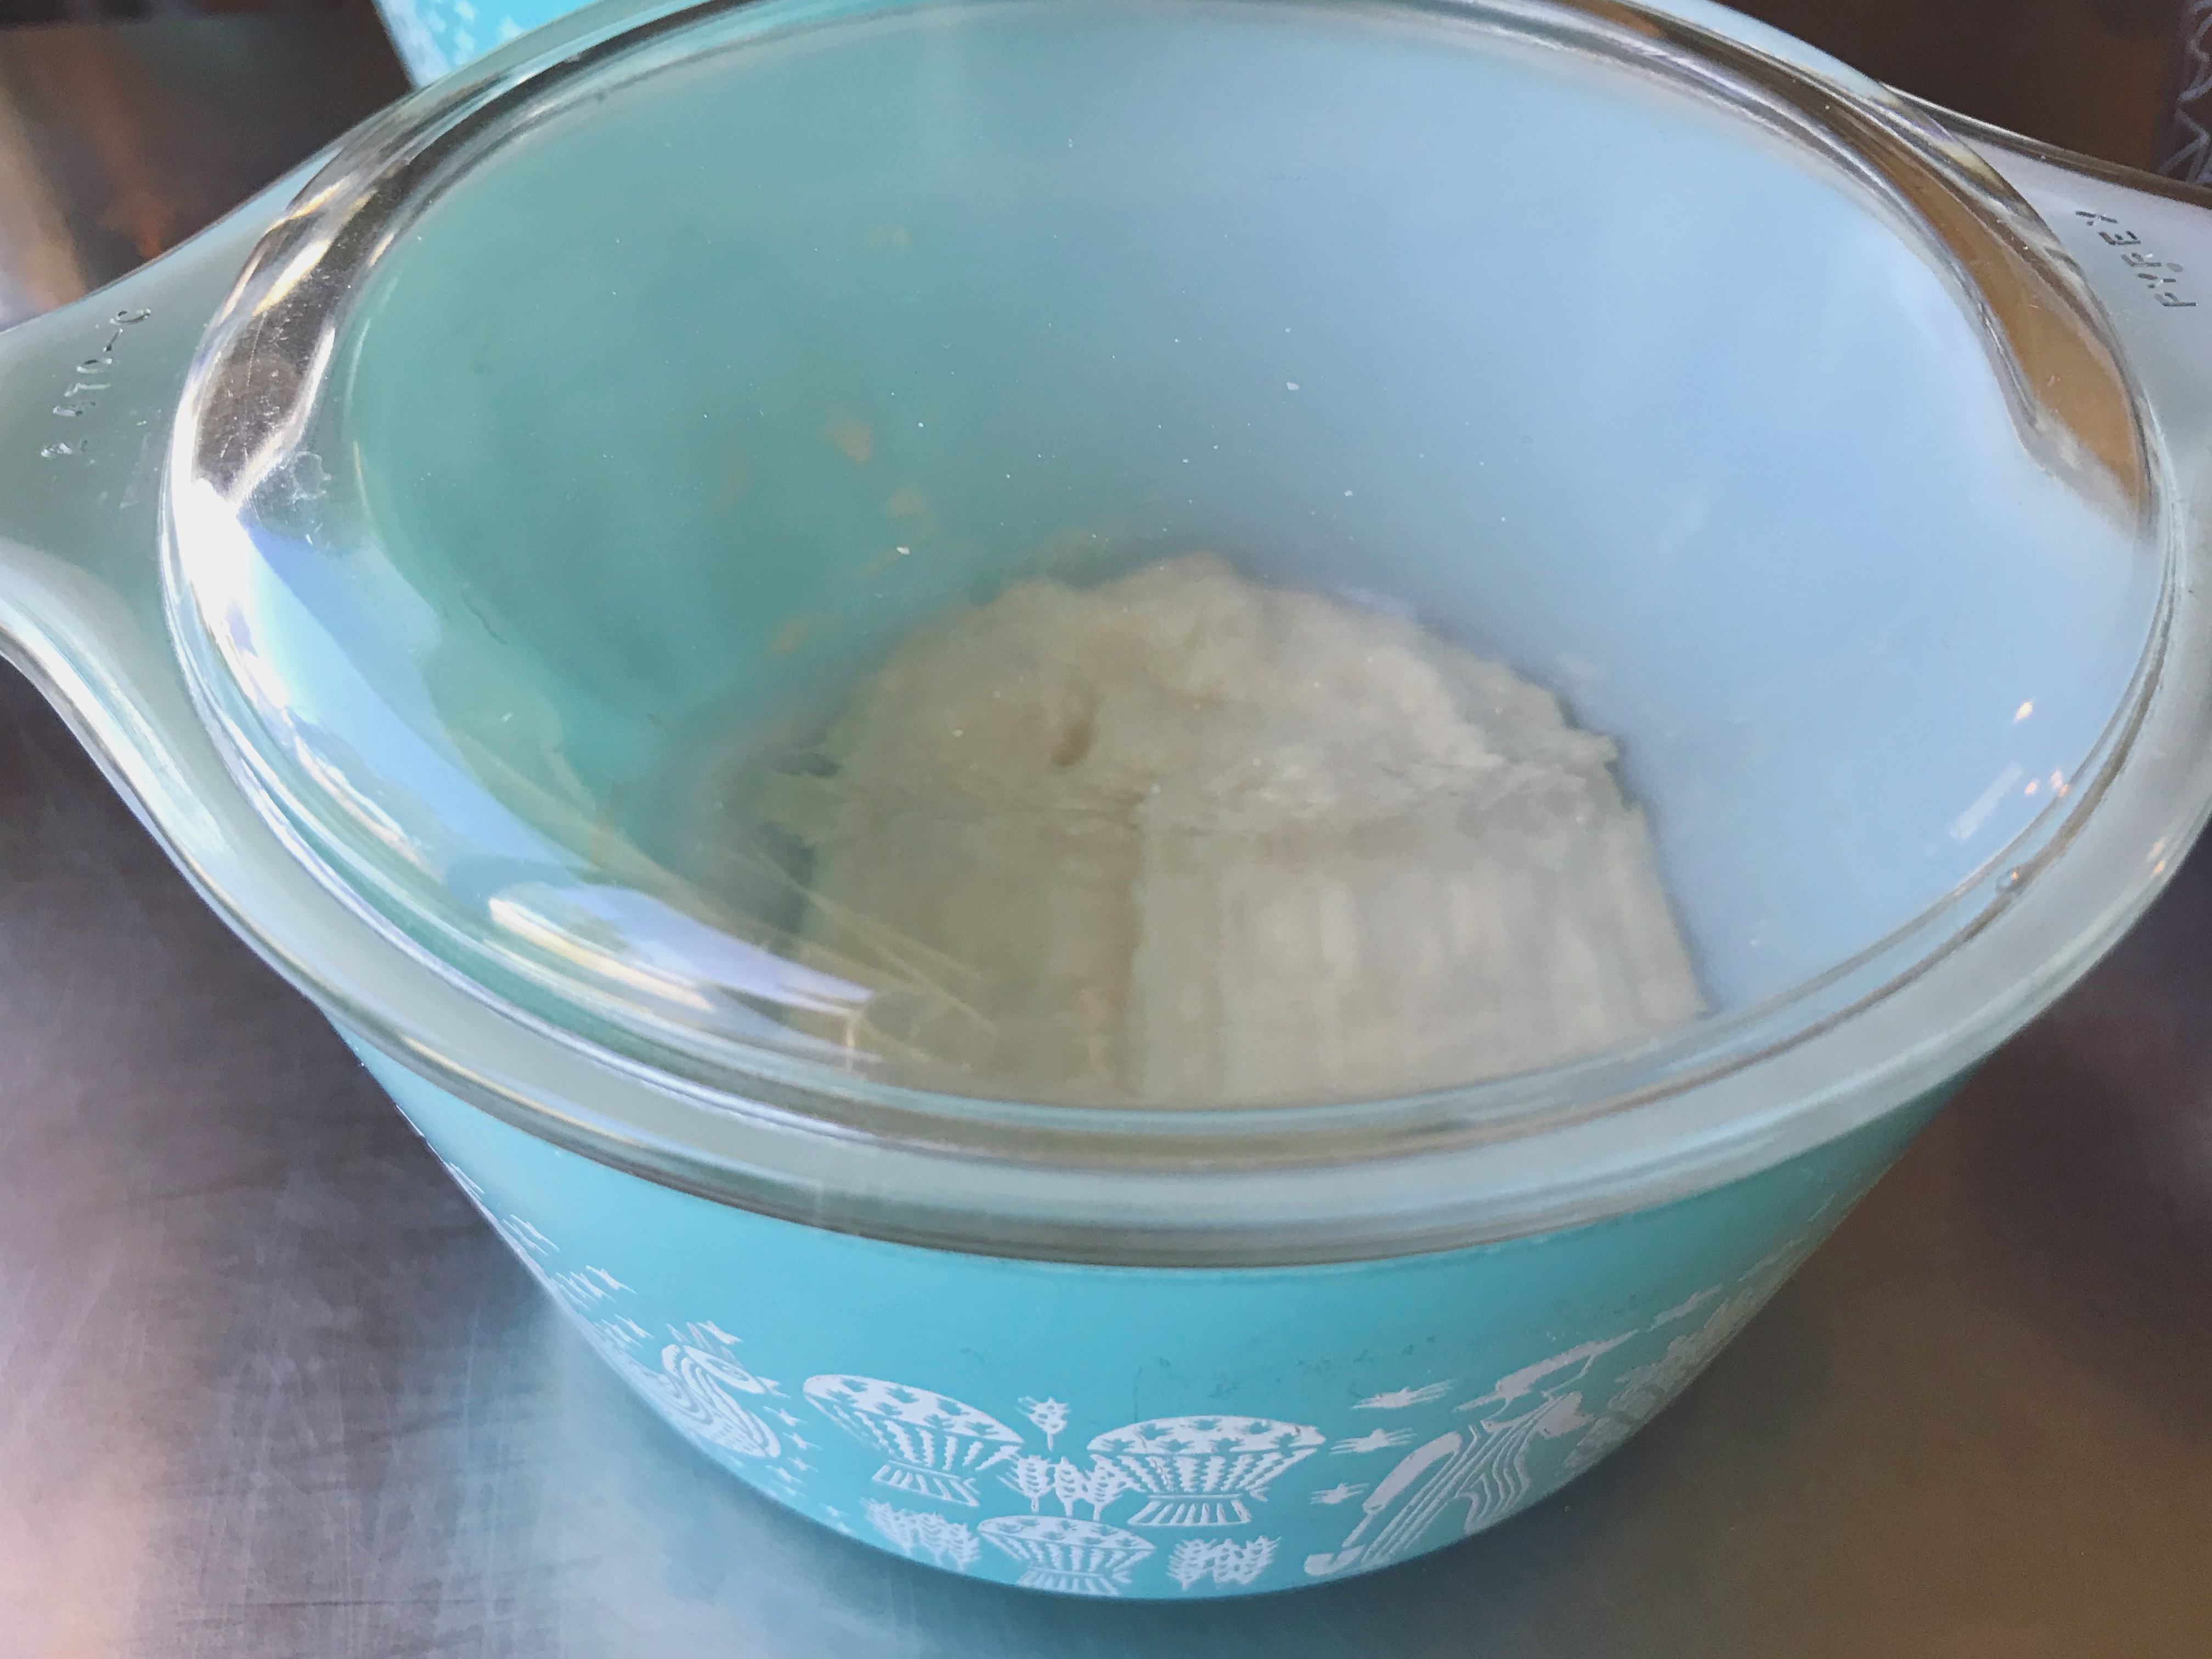
Cover and let ferment overnight
In the morning, check to see how many bubbles you are getting and how robust the starter looks. Lots of tiny bubbles will not produce the same bread as a leaven that has large bubbles that mostly stay strong when you shake the bowl a little bit. If it seems to need more strength, put it in the fridge until the evening when you will start again. If you leave it on the counter all day, the whole process will take longer.
Before bed on day 2, take just 12 grams of starter from the leaven you made the night before and put it in a non-reactive bowl. Add 50 grams of water and mix with a spatula until it is mostly dissolved. Add 50 grams of flour and mix well. Cover and leave the mixture to ferment overnight. Everything but the 12 grams that you used is now considered discard. That’s why we are making such a small amount each time.
Check again in the morning for large bubbles that hold up well. If you are not there yet, refrigerate your leaven and follow day 2’s instructions again in the evening
Continue to discard all but 12 grams of starter and mix with 50 grams of water and flour until you wake up to a super happy leaven. It shouldn’t take more than 4 days.
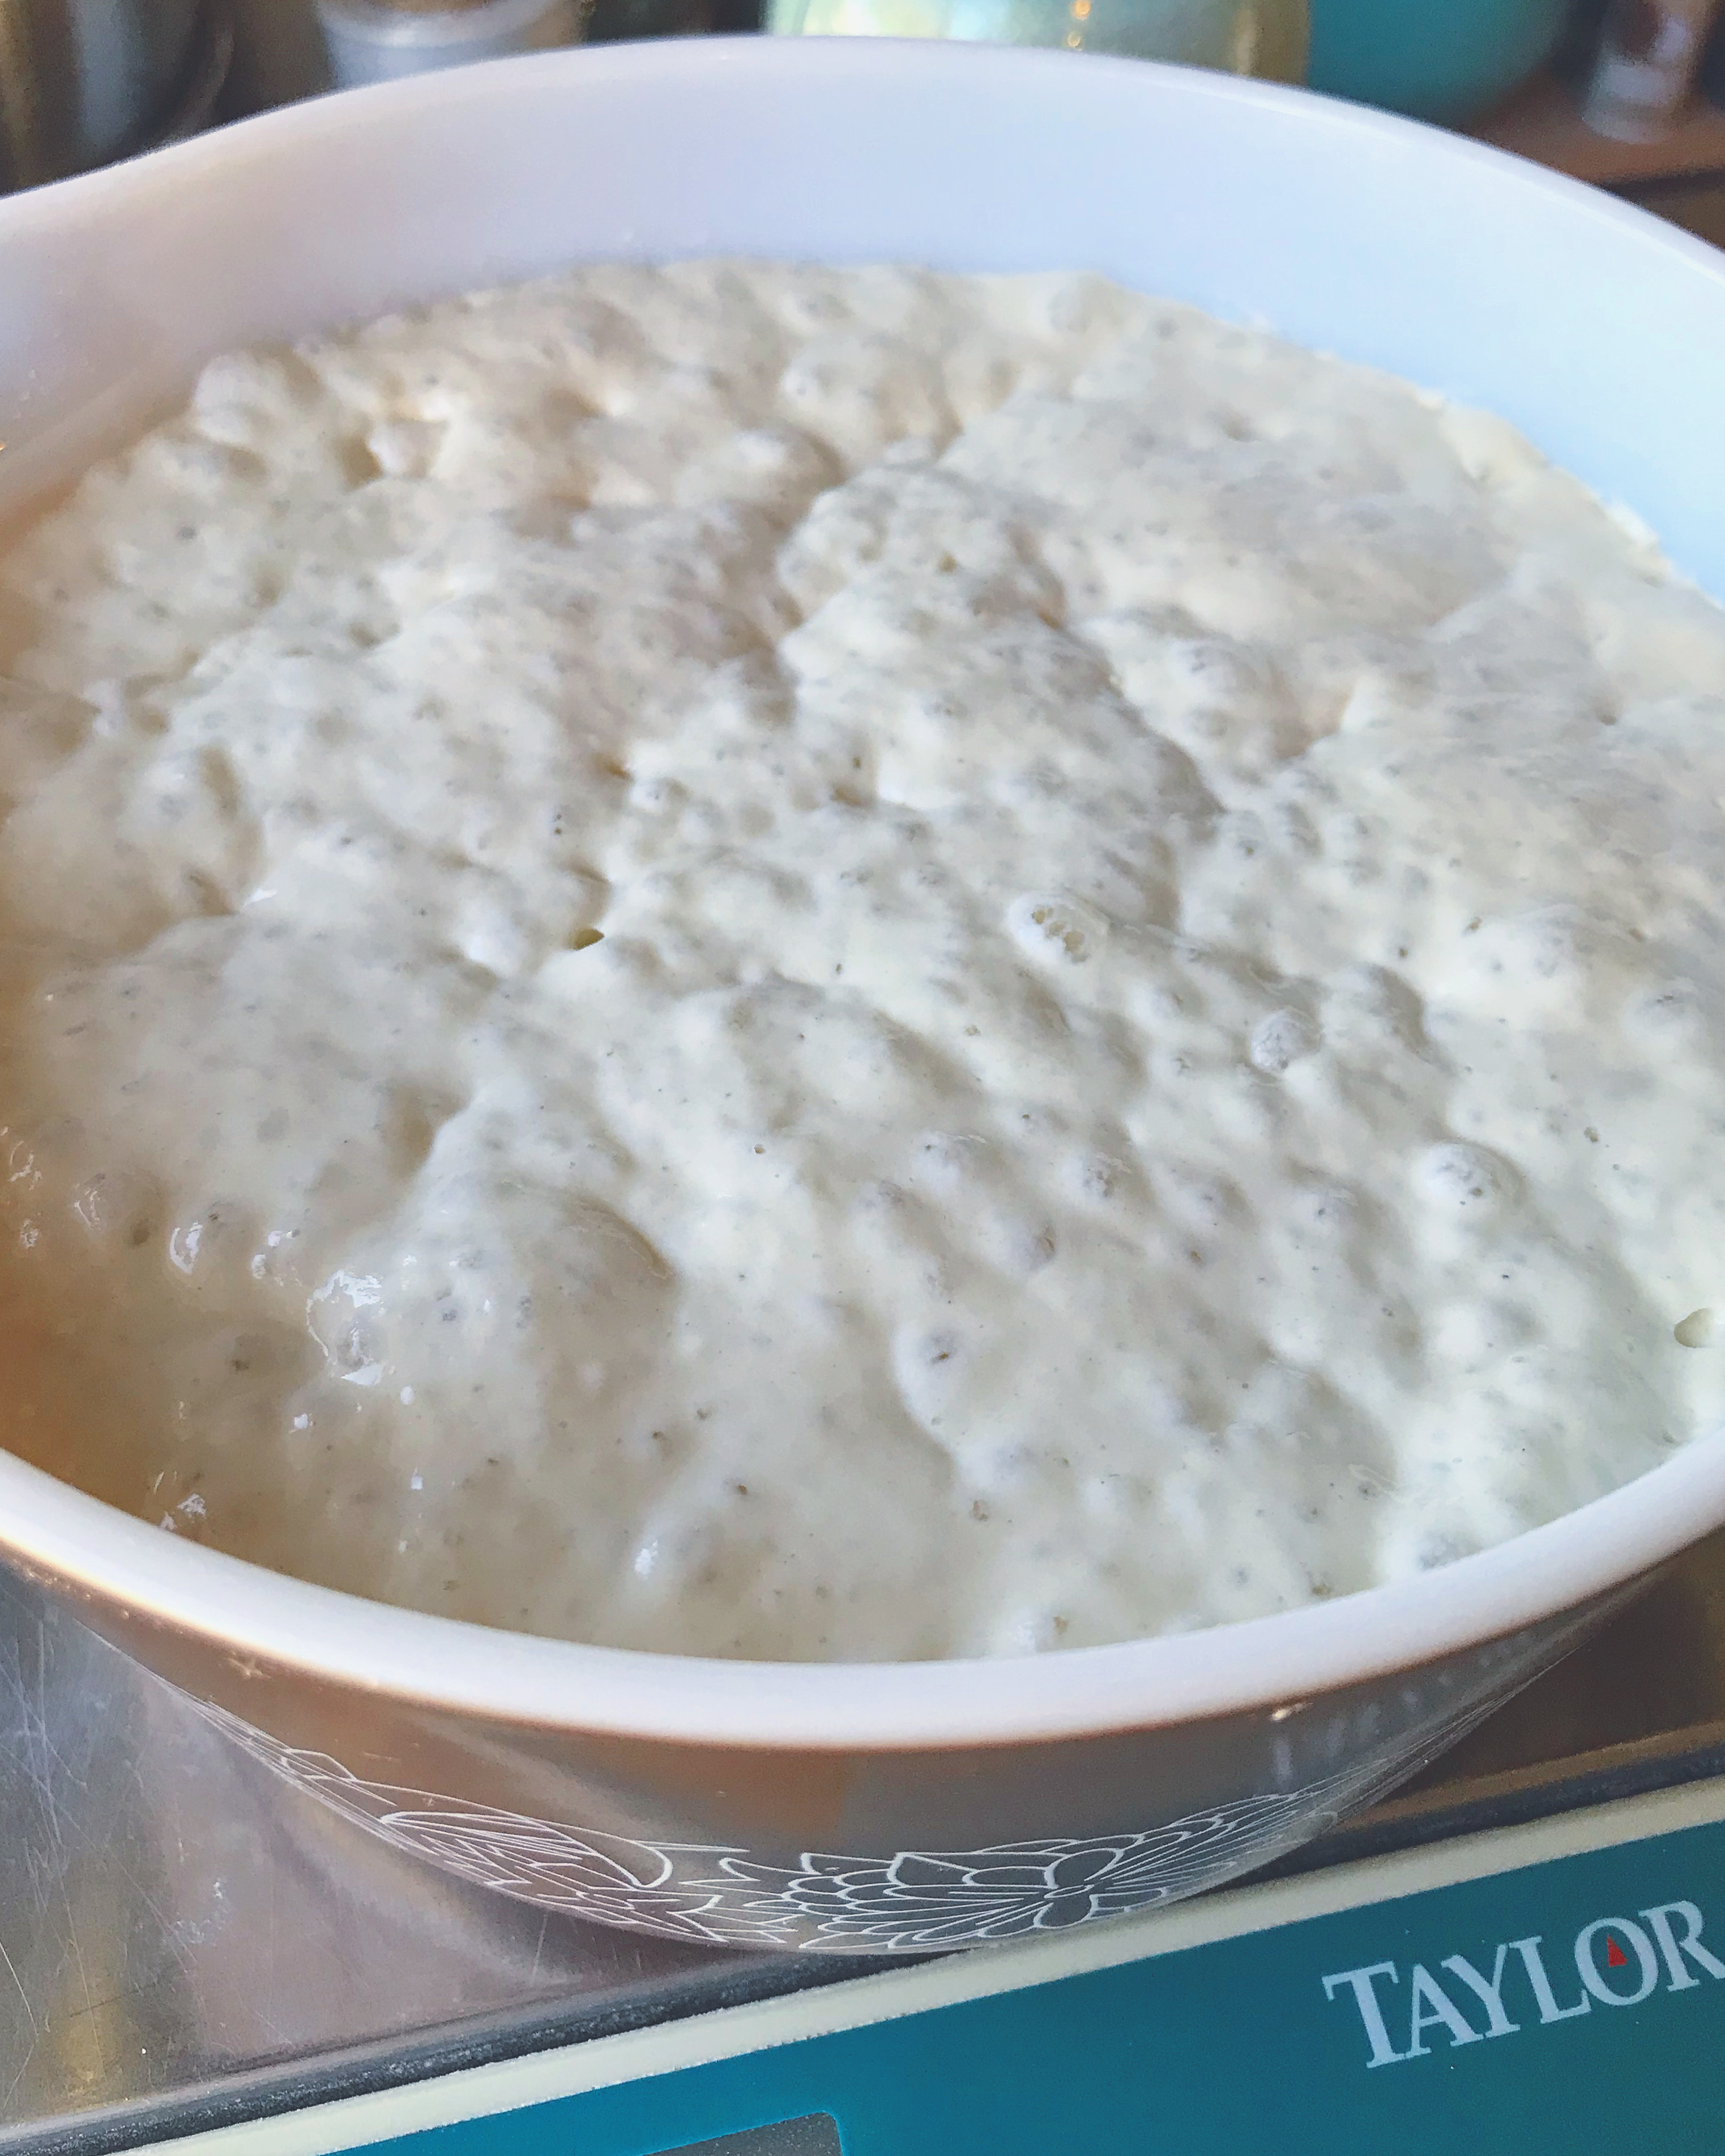
Very happy leaven!!
Once you are happy with the result, you are ready to make bread. However, if you want to use this leaven, you will only end up with a tiny bit of leftover to store, so I suggest feeding it one more night in larger proportions so that you have enough to use and a good amount of leftover to store.
If you are following these instructions, you will have placed your very happy starter in the fridge in the morning. On the evening that you wish to make bread, measure 25 grams of starter from the leaven you made the night before and put it in a non-reactive bowl. Add 100 grams of water and mix with a spatula until it is mostly dissolved. Add 100 grams of flour and mix well. Cover and leave the mixture to ferment overnight.
In the morning, you will use 100 grams of leaven to make 1 loaf of the Rustic Boule. You will have about 125 grams of leaven, to keep for your next bake. Since you have been keeping the starter in the fridge the whole time, the bacteria have already begun to adapt to thriving in the cold and will hold nicely for about a week. You can also encourage it to stay strong for longer by putting the leftover 125 grams in a mason jar and straight into the fridge before it falls. Be sure that there is space for it to grow and cap the jar very loosely when you put it away because the fermentation activity will continue. Just very, very slowly.

This leaven has started to fall. Try to put your leftover in the fridge before this happens to extend the time that it stays active in cold storage.
The last step is to remove the starter from the fridge about a week later to make another loaf of bread. If you put it away when it was very robust and had large bubbles, you should be able to make leaven in 1 day. You can discard everything in the jar but 25 grams of starter, adding the 100 grams of water and bread flour. This will give you 100 grams of leaven and 125 grams of leftover to keep in the fridge.
In my bakery, I never discard anything because I use my starter many days in the week, in varying amounts. Instead, I add anything left from my leaven back to the jar and give it a good mix. Then I put the jar immediately back into the fridge. The fresh leaven feeds what is in the jar just enough to keep it very happy. If you catch the sourdough bug and end up baking more often than once a week, you will only need to discard when your jar begins to get a little too full. Always make sure there is at least a quarter of empty space so that you don’t have an overflow and keep that cap loose so that it can’t explode.
Whew! That is a lot of information you just plowed through. If you are overwhelmed, please don’t despair. I promise that when you read through this post a few more times and then follow the directions, it will become SO EASY. Your starter will be ready for you at a moment’s notice instead of having to plan ahead.
One last tip! I highly recommend keeping about 50 grams of robust starter in the freezer as a backup. The next time you make bread, instead of discarding, put your leftover in a zip lock and put it in the freezer nice and flat. If you happen to have a catastrophe, you can always defrost and revive it by using this process starting with day 1. It is also easy to dehydrate starter by smoothing a thin layer of it on parchment and leaving it to dry out. When it is completely dry, it will easily break into pieces that are simple to store in the pantry. If you end up needing it, rehydrate it in a little water and then revive it by starting the process at day 1.
As always, if you have any questions, please message me!! I want you to have a stress-free, sourdough relationship!!

With a little practice, you’ll be turning out beautiful loaves of bread!
